Steps to configure the Star TSP100III WiFi printer with Revo
Previously, the printer should have the factory settings. If the printer is new, skip step 1.
1.How to perform a Hard Reset (restore to factory settings) the Star TSP100III WiFi.
- 1.1.With the printer off, open the lid and keep the Feed button clicked.
- 1.2.Start the printer while keeping the Feed button clicked.
- 1.3.When the Ready and Error LEDs light up, keep the Feed button clicked.
- 1.4.Release the Feed button, close the lid and wait for the Ready LED to light up; then, turn off the printer.
- 1.5.Keep the Feed button clicked while turning on the printer again.
- 1.6.When the current configuration is printed, check that the section of Network Configuration - Network Mode shows as Ad-Hoc.
2.Once the printer is in Ad-Hoc mode, access it by connecting to a new WiFi network created under the name of TSP100III-XXXXXX.
3.Once connected to TSP100III-XXXXXX, access the configuration of the printer through the Internet browser, Safari for example, using the IP address showing up on the configuration paper above, in the IP Address section.
In case it shows up as 0.0.0.0 it is accessed through IP 169.254.1.1.
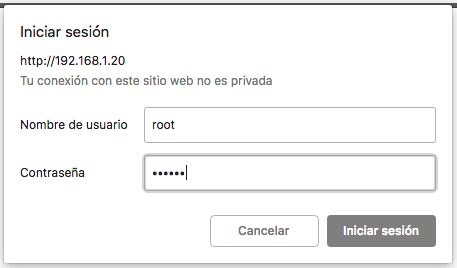
- 3.1.In the configuration, access as administrator by clicking Login.
- 3.2.A small window shows up asking for a user (root) and password (public).
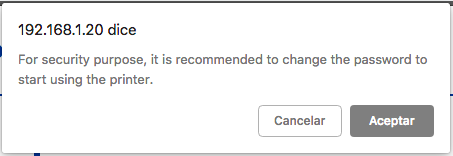
You shall probably see a new window with an alert sent by the printer to change the password. Simply ignore it by clicking Cancel.
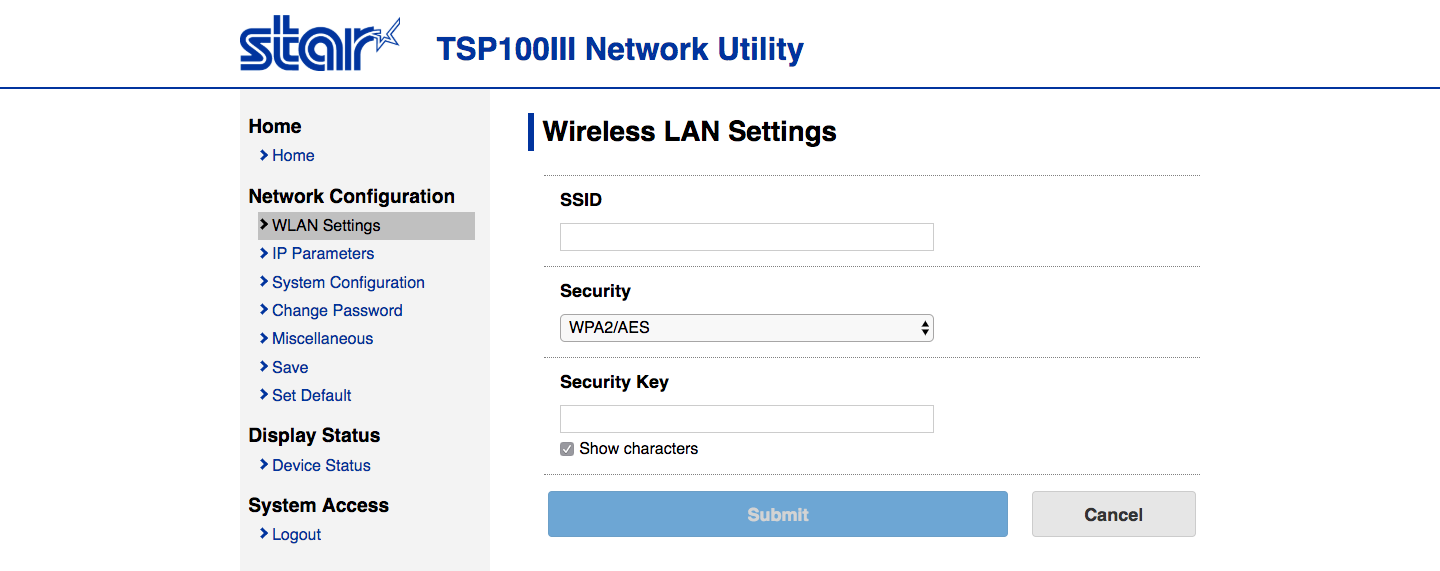
4.Now proceed to set up the printer in your WiFi network; to do it, go to the WLAN Settings section.
- 4.1.In SSID, write the name of your WiFi network as it appears.
- 4.2.Security: Select your type of password encryption. By default it is usually WPA2/AES.
- 4.3.Security Key: Write your WiFi password. Check the "Show characters" box to show the password before entering it, to avoid possible errors.
- 4.4.Click Submit to save changes.
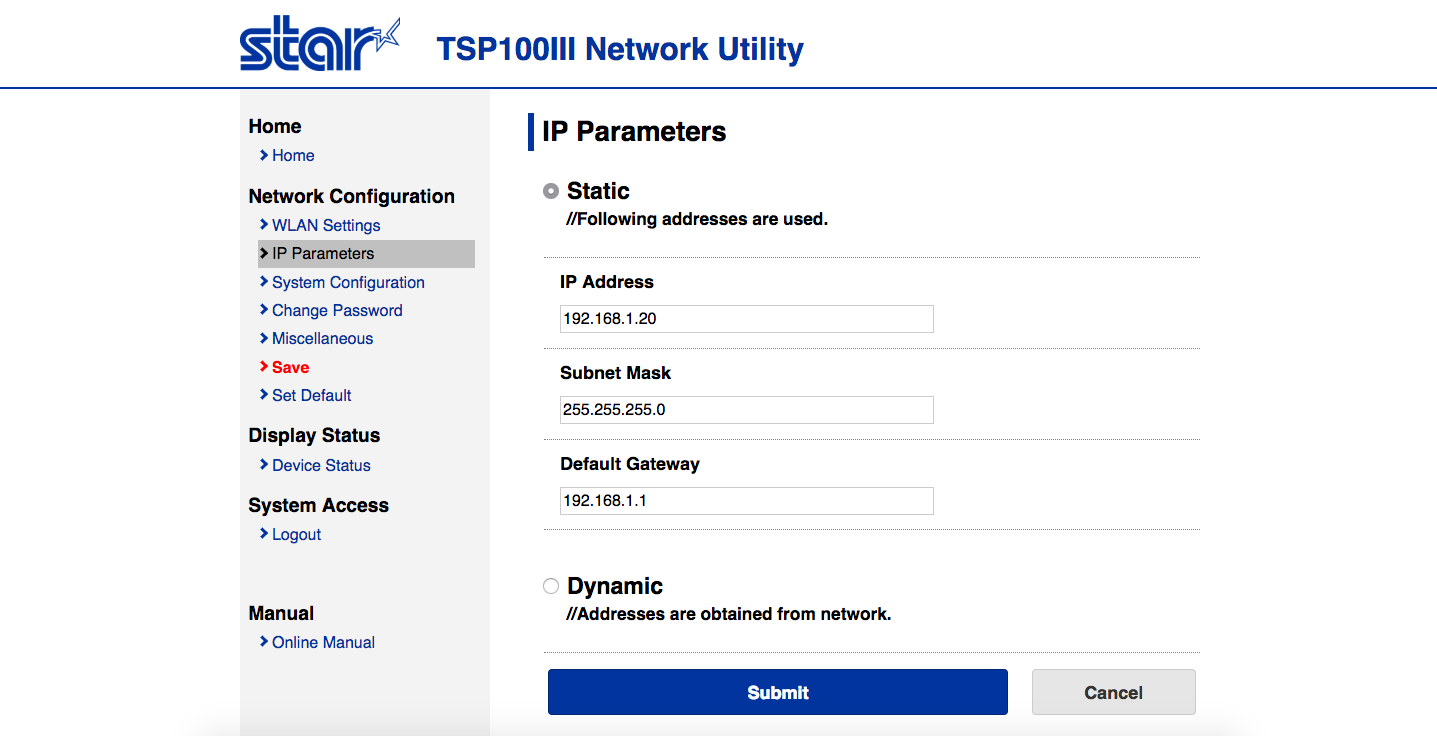
5.Now go to the IP Parameters section and grant a static IP to the printer.
First of all you should know your IP range. As a general rule it is usually 192.168.1.1/24.
- 5.1.Select the option Static.
- 5.2.In IP Address, enter the IP you want to assign to the printer.
- 5.3.In Subnet Mask, enter the network mask. Usually 255.255.255.0.
- 5.4.Default Gateway: IP of the gateway. Usually 192.168.1.1.
- 5.5.Click Submit to save changes.
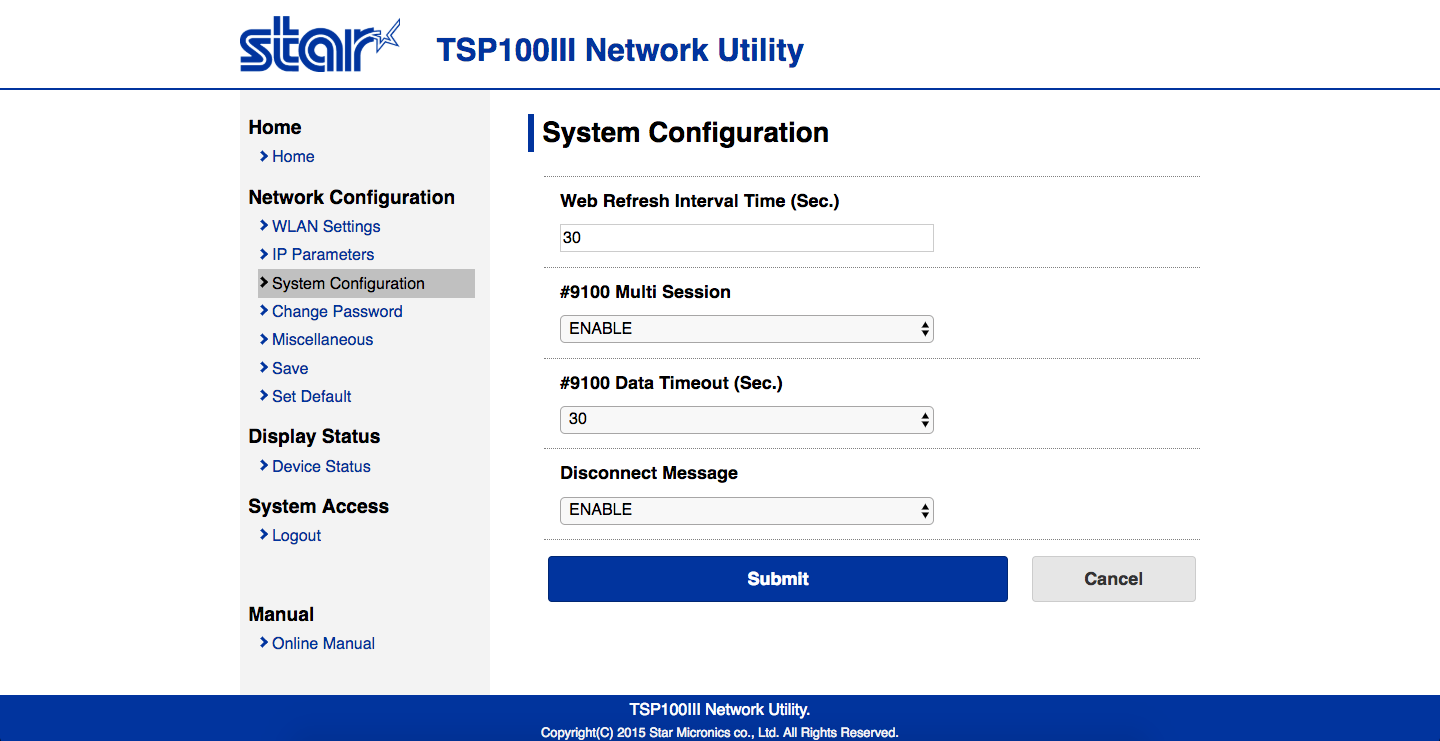
6.Finally, let’s configure the multi-session in the STAR TSP100III WiFi. To do it, go to the section of System Configuration in the menu on the left.
- 6.1.Web Refresh Interval Time (Sec.): By default it is set up at 0, change it to 30.
- 6.2.#9100 Multi Session: Change it to ENABLE with the drop-down menu.
- 6.3.#9100 Data Timeout (Sec.): Select 30 in the drop-down menu.
- 6.4.Once the previous changes are entered, click on Submit to save them.
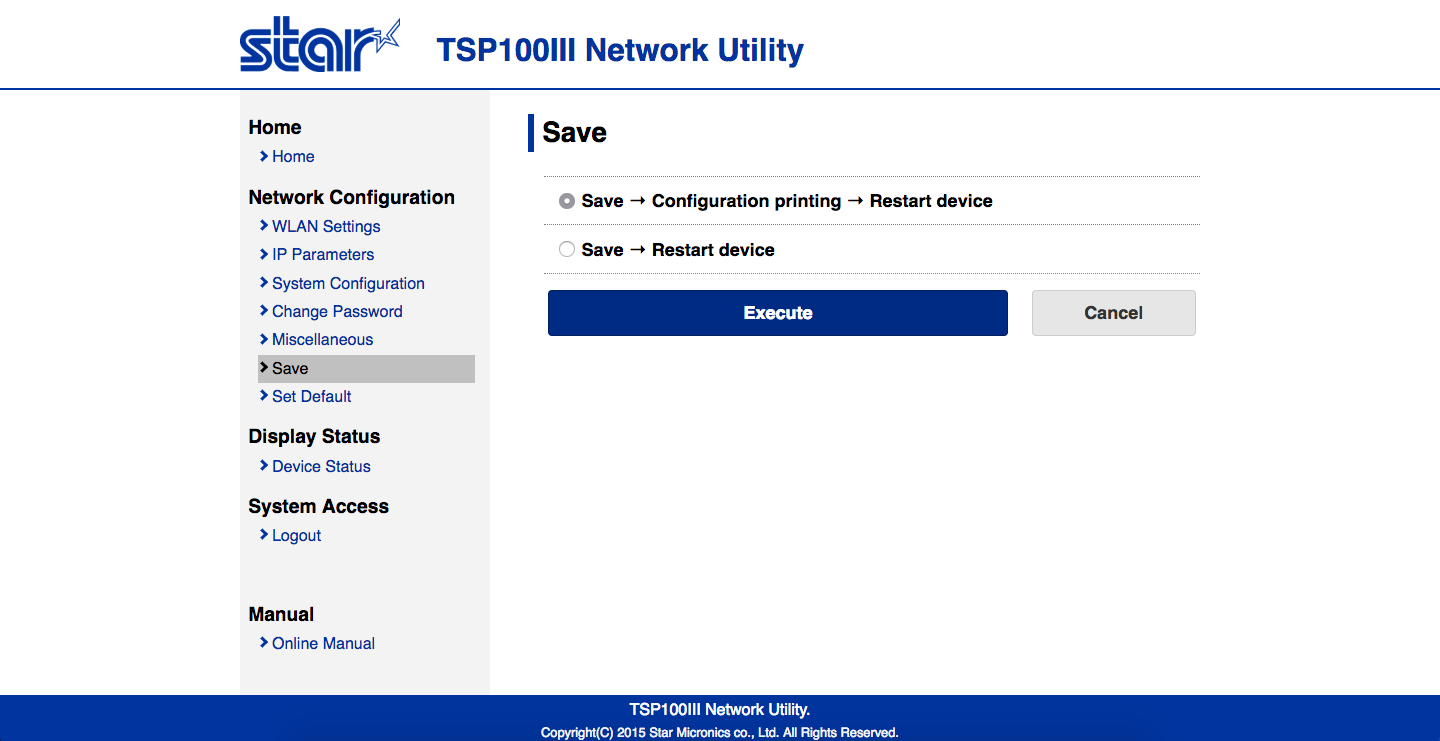
7.With the previous steps, the printer is configured and you just have to apply the changes; to do it, go to Save in the menu on the left.
- 7.1.Once inside, click Execute.
- 7.2.The printer will restart and print the new configuration.
- 7.3.Verify that everything is right in the extract, and if so, go on to configure it in the Back Office.
8.In the Back Office of the Revo account.
- 8.1.Go to Configuration
- 8.2.In Printers, create a new printer:
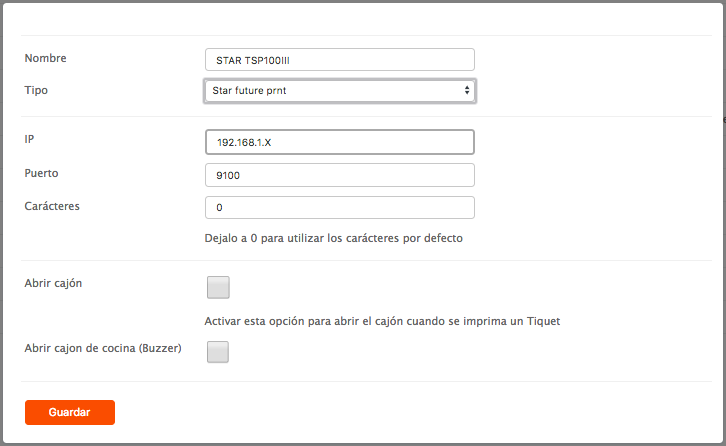
- 8.3.Name: Enter the name you want to give the printer to set it apart later.
- 8.4.Type: Selecte Star Future PRNT.
- 8.5.IP: Enter the IP Previously established in the configuration of the printer.
- 8.6.Port: Leave it as default at 9100.
- 8.7.Characters: It is advisable to leave that at 0. It can be edited subsequently.
- 8.8.Open drawer: This option lets you open the drawer when a ticket is printed.
- 8.9.Open kitchen drawer (Buzzer): Enable if you want a bell to sound when printing a tiquet. (The buzzer is not included and must be purchased separately)
9.If you have performed each step properly, you will have your STAR TSP100III WiFi configured in Revo.