1. CREATE A WAREHOUSE IN THE BACK OFFICE 2. ADD OR PERFORM INVENTORY 3. STOCK MOVEMENT 4. INVENTORIES
Warehouses allow you to manage your product stock and maintain inventory control. You can create different warehouses and move products between them.
1. CREATE A WAREHOUSE IN THE BACK OFFICE
1. Access the back office of Revo RETAIL.
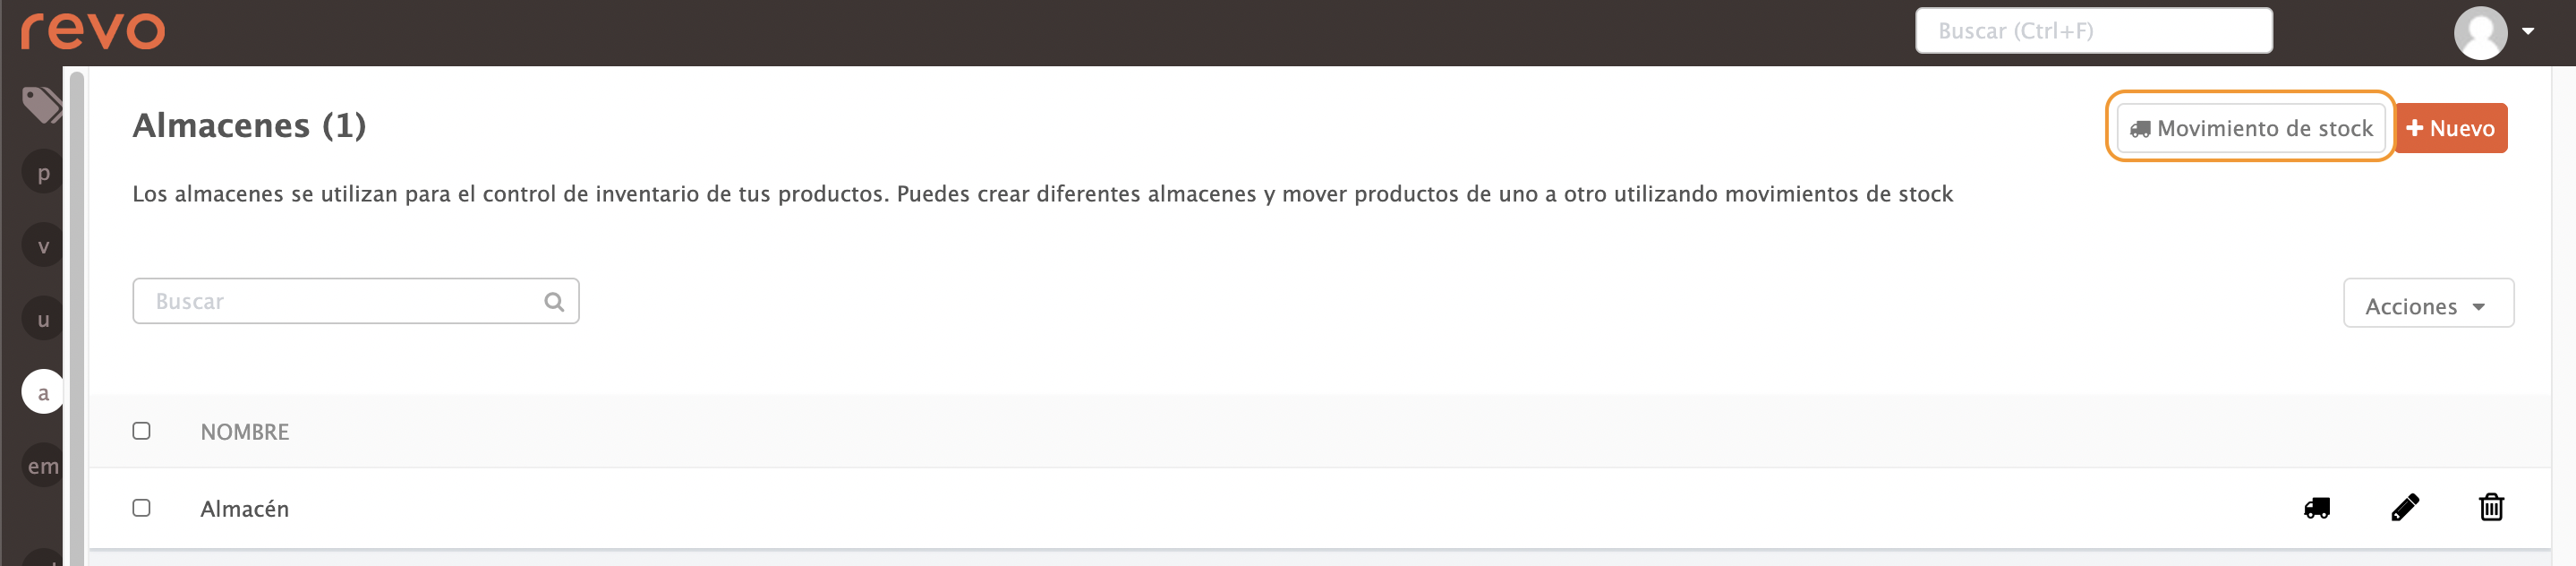
2. Go to Products / WAREHOUSES.
3. Click on +New.
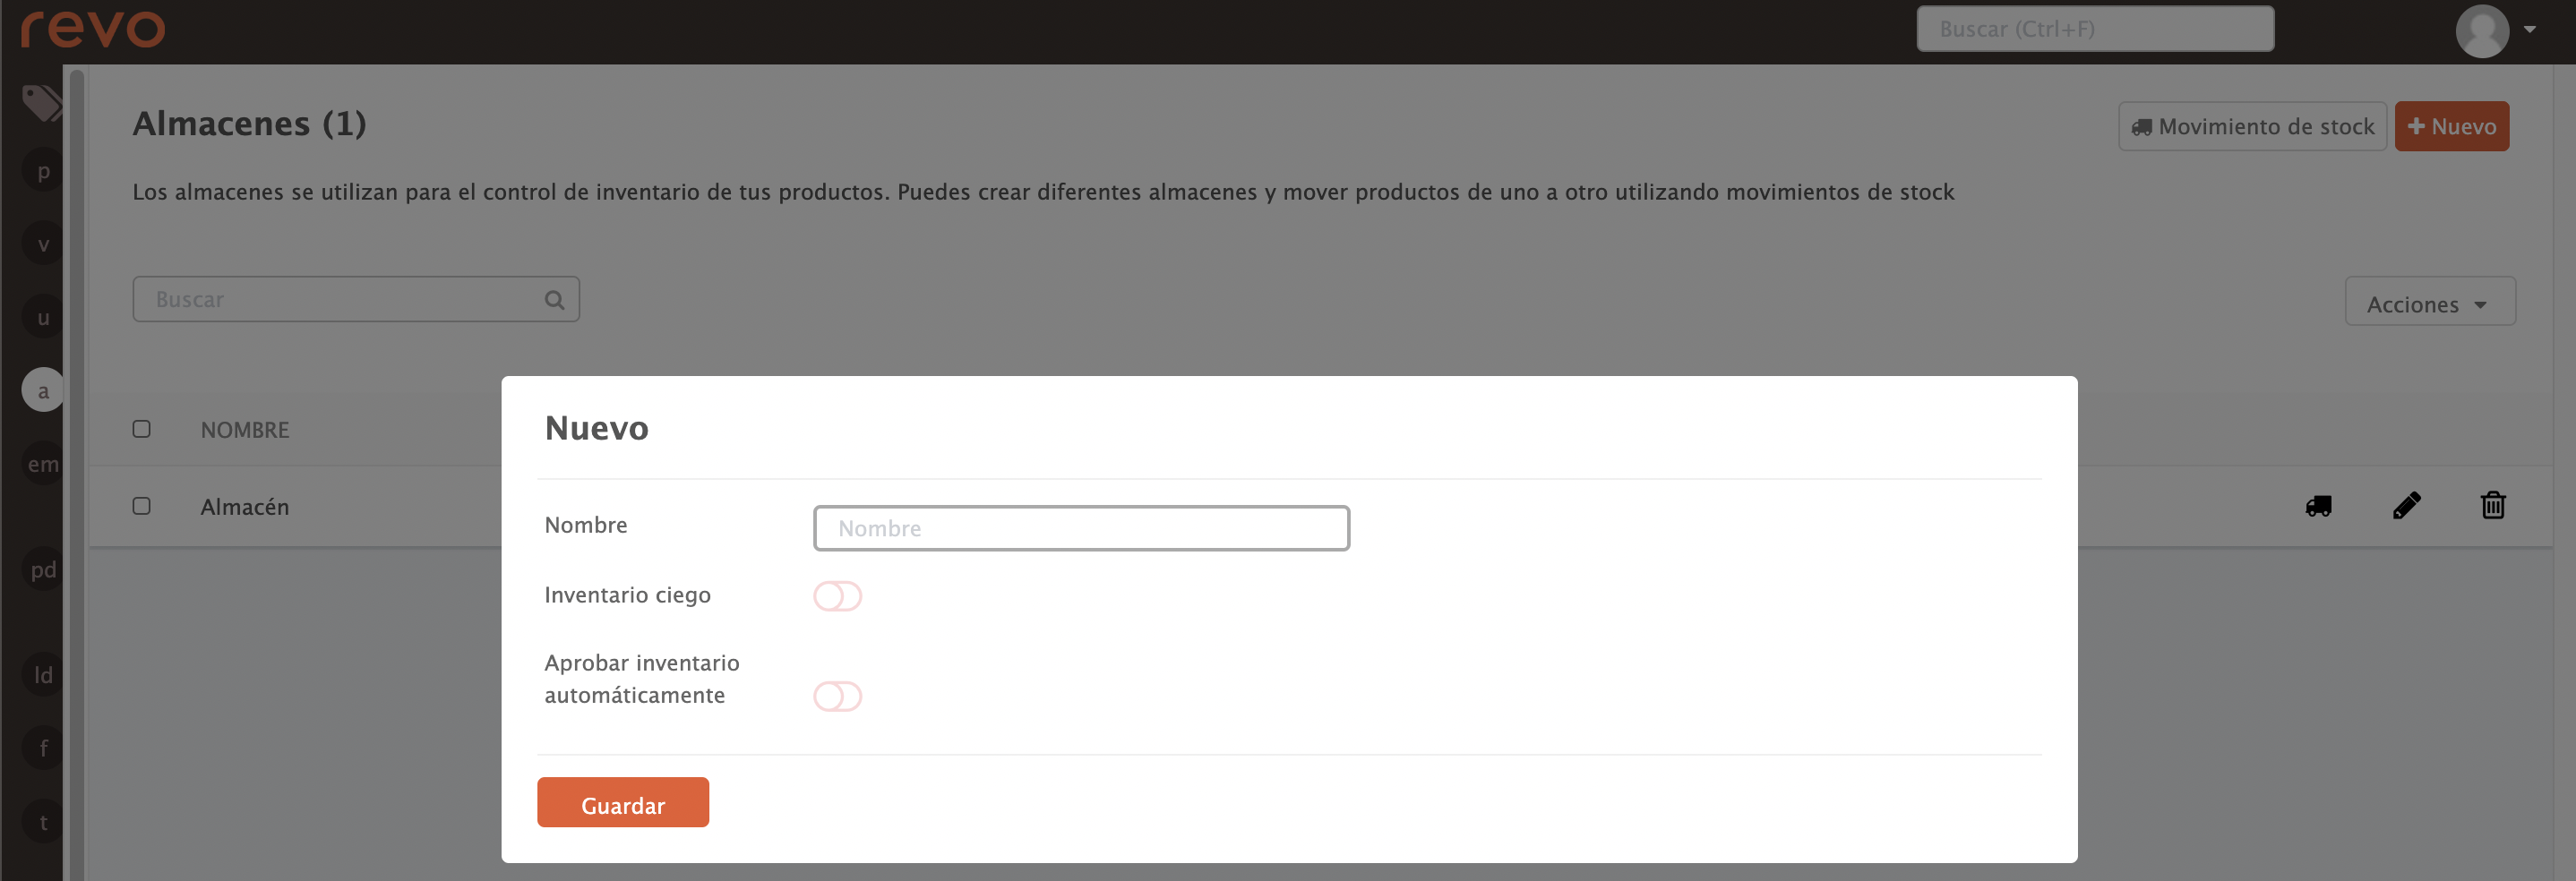
-
Name: Enter a name.
-
Blind inventory: Enable this option if you do not want the inventory to show existing units.
-
Automatically approve inventory:
- Enable this option to update the units entered in Revo STOCK instantly when clicking on to confirm changes.
- Disable this option if you prefer to approve them manually in Inventories.
4. Click on Save.
2. ADD OR PERFORM INVENTORY
The process is the same for both actions.
1. Click on Stock Movement.
2. Complete the following information:
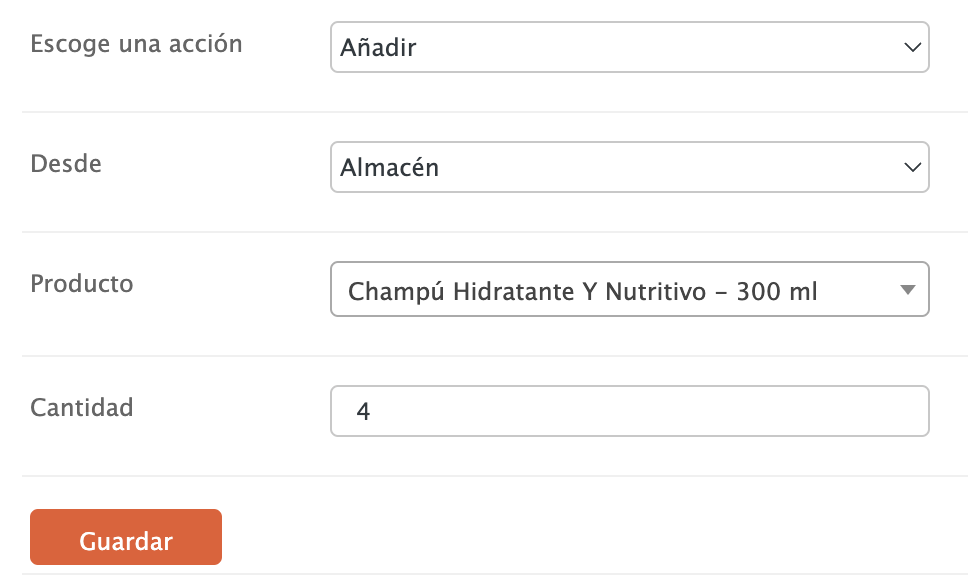
- Choose an action: Select Add or Inventory.
- From: Select the warehouse.
- Product: Select the product.
- Quantity: Enter the quantity.
3. Click on Save.
3. STOCK MOVEMENT
If you have more than one warehouse, you can move products between them.
1. Click on Stock Movement.
2. Complete the following information:
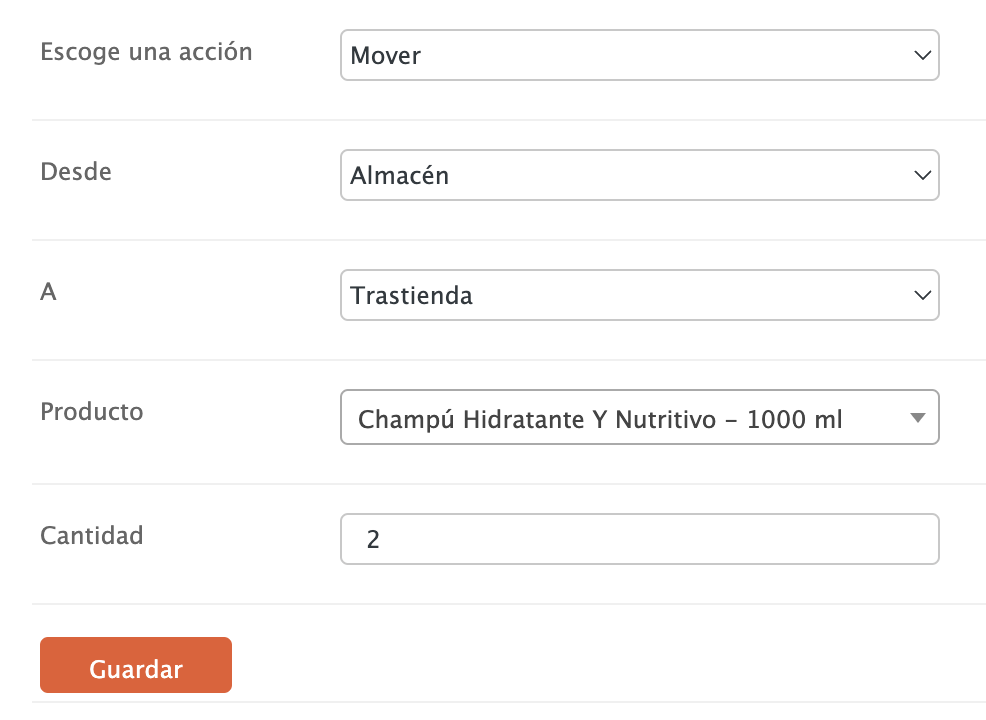
- Choose an action: Select Move.
- From: Select the source warehouse.
- To: Select the destination warehouse.
- Product: Select the product.
- Quantity: Enter the quantity.
3. Click on Save.
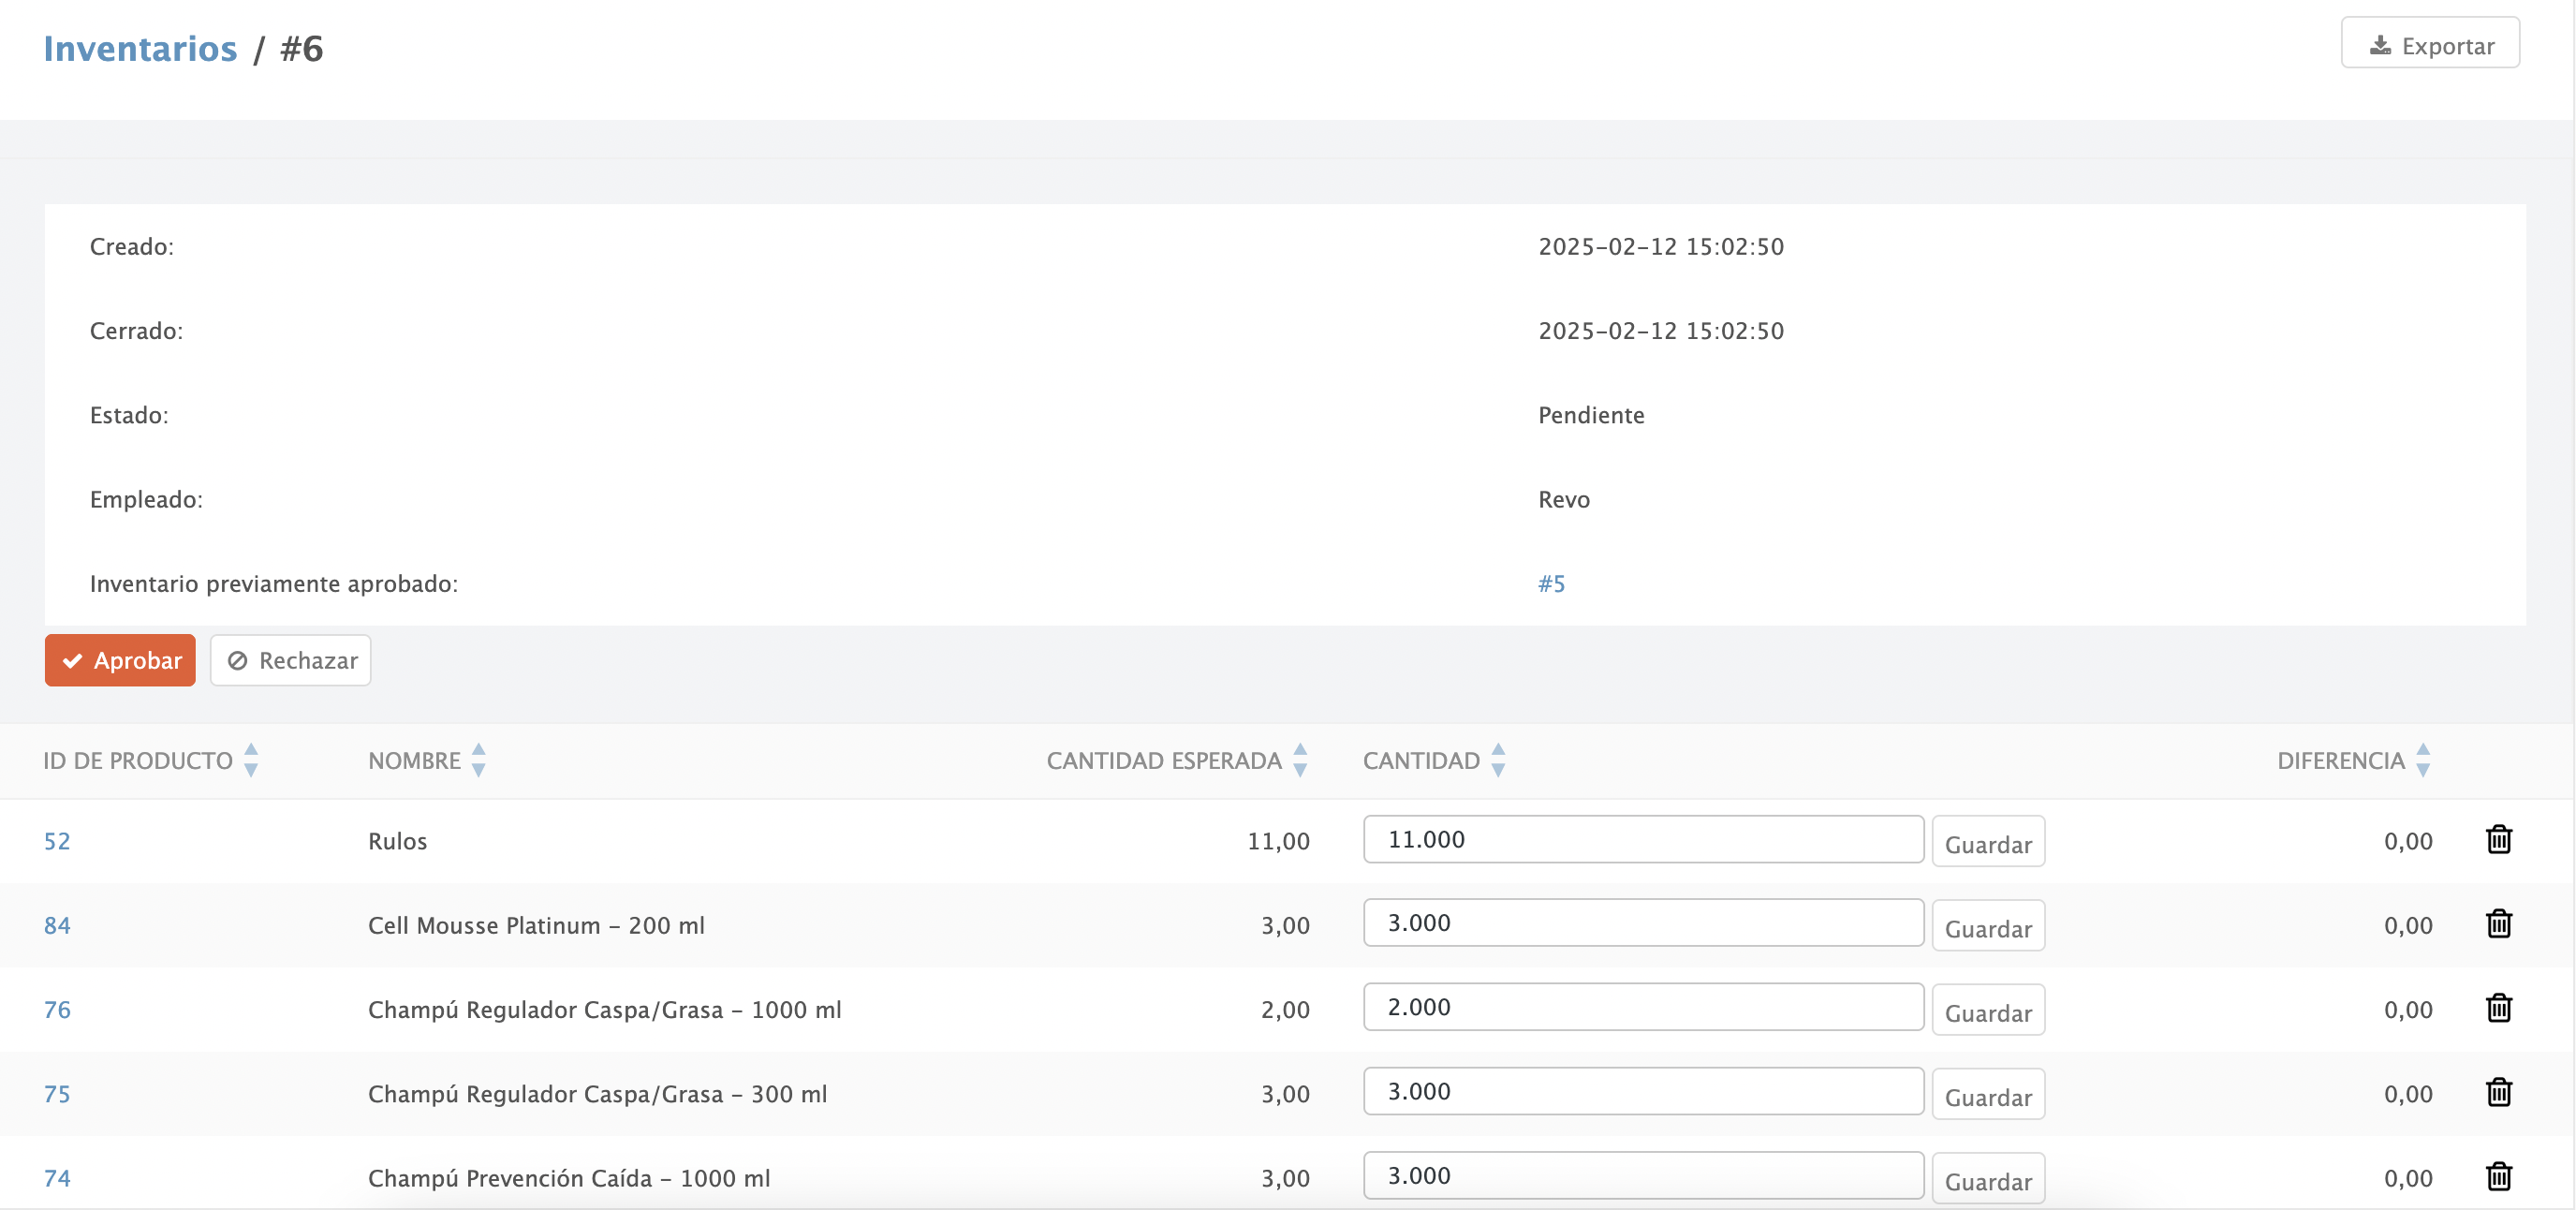
4. INVENTORIES
Go to Listings / INVENTORIES to check the status of inventories performed in Revo STOCK.
If the automatically approve inventory option is disabled, inventories will remain pending until they are approved.
1. Click on to view the inventoried products.

2. Click on Approve if the inventory is correct or Reject if there are errors.
If you need to correct a quantity, edit it, click Save, and approve the inventory.