Tags allow you to assign totals by families (supergroups) when sending information to PMS.
1. Access the back-office of Revo RETAIL.
2. Go to Products / TAGS.
3. Click +New.
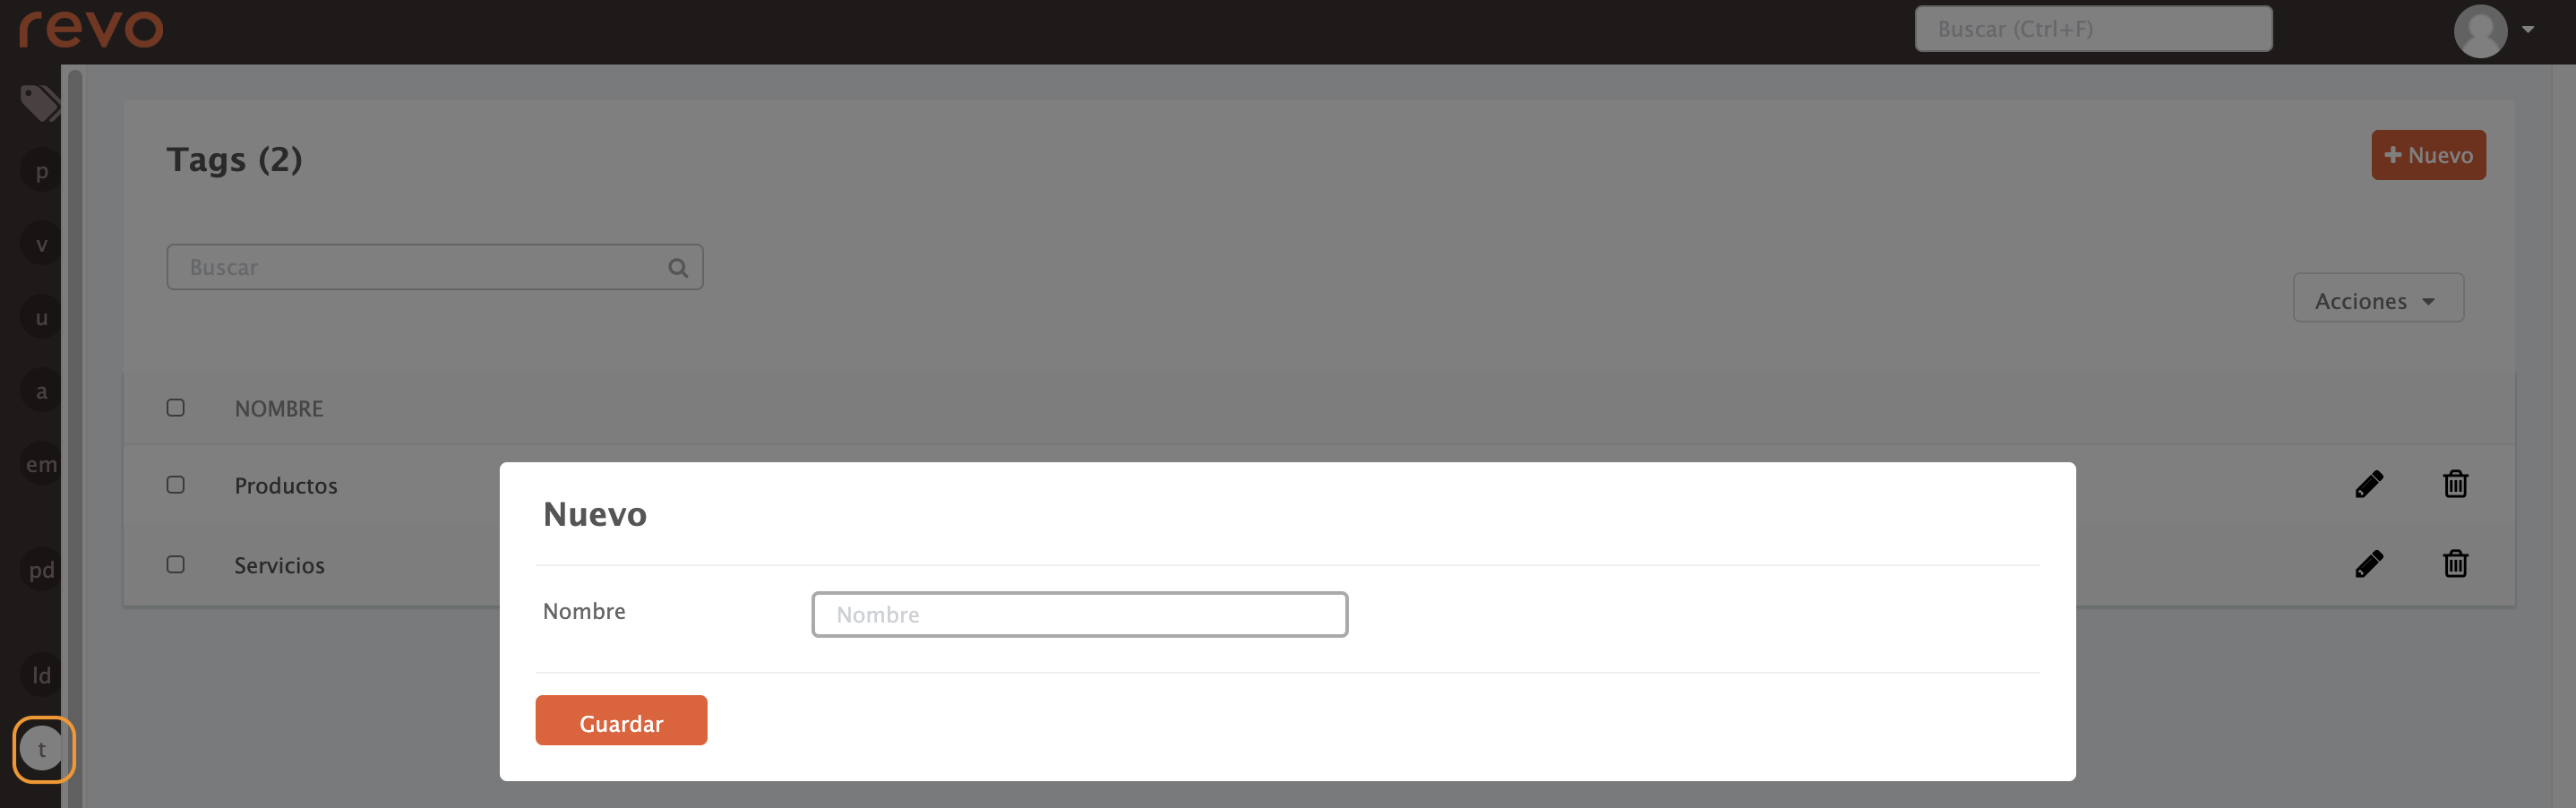
- Name: Enter the tag name.
4. Click Save.
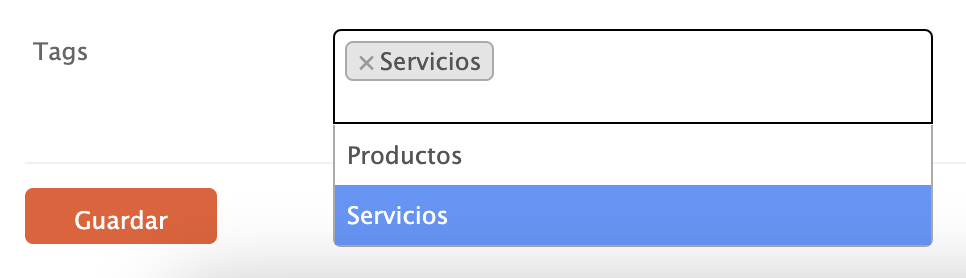
5. Go to PRODUCTS, select a product and choose the tag from the dropdown. Then, click Save.
Tags are used in PMS integrations.
Practical Example
Imagine you have two families: Services and Products. Let's create the Services tag.
1. Access the back-office of RETAIL.
2. Go to Products / TAGS.
3. Click +New, enter Services, and click Save.