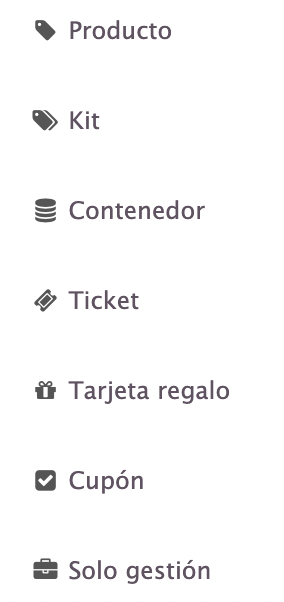
1. PRODUCT 2. KIT 3. CONTAINER 4. GIFT CARDS 5. COUPON
When entering a category, you will see a list of products with the following information:

-
Edit: Quickly modify names and prices.
-
Sort Alphabetically: Arrange the list in alphabetical order.
-
Save Order: Save changes to the order.
-
+ New : Add products, kits, containers, etc.
-
Search: Quickly find products.
-
: Drag to change the order.
-
: Deactivate a product to hide it in the app. Tap to reactivate it.
-
: Add the product to favourites or remove it.
-
: Upload an image for the product.
-
Name: The product name. Tap it to edit its settings.
-
Price: Quickly check the price.
-
Tax: Verify if a tax is applied.
-
Variants: View available variants.
-
Related Products: Link products by tapping 0.
-
: Duplicate or move products between categories.
-
: Edit the product.
-
: Delete it if it has no sales.
To temporarily stop selling it, deactivate it.
-
Name and Price: Quickly add a product.
HOW TO ADD PRODUCTS
1. PRODUCT
To create a product, tap + New and select Product.
The following screen will appear:
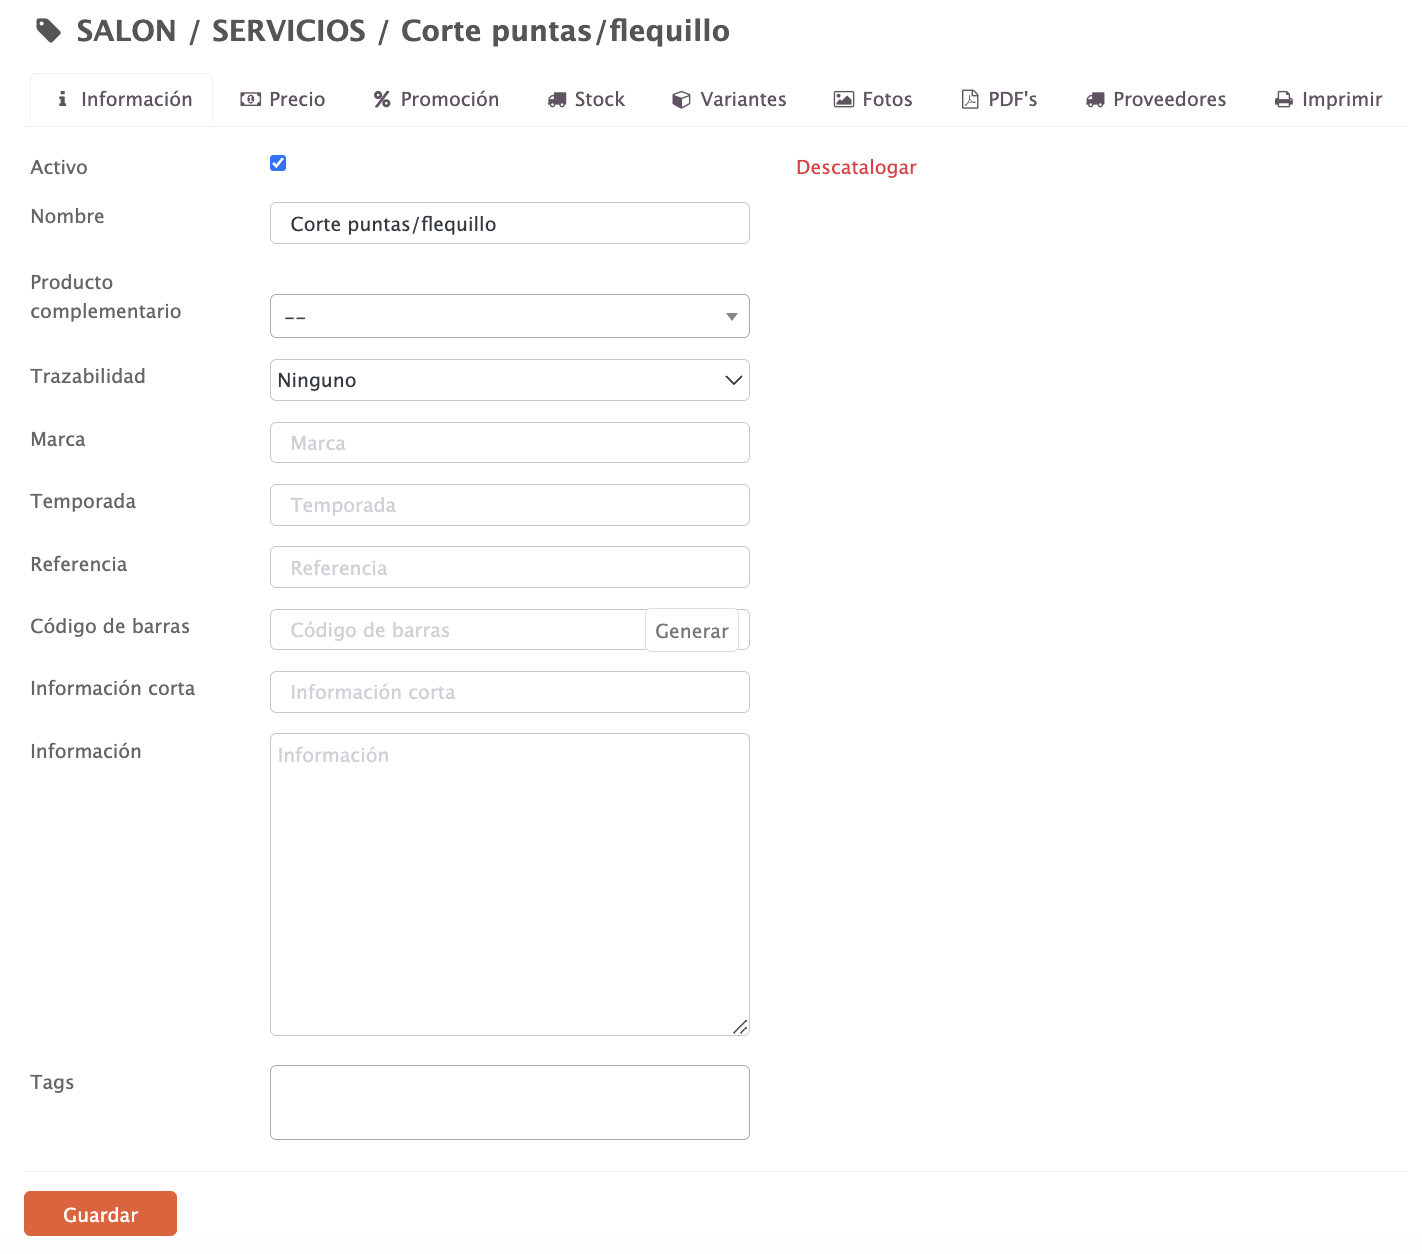
INFORMATION:
-
Active: Enable to make it visible in the app.
-
Discontinue: The product will no longer be available. More info here.
-
Name: The name displayed in the app and on the receipt.
-
Complementary Product: Automatically adds another product to the basket.
-
Traceability: Set up product tracking.
-
Brand: Enter the brand name.
-
Season: Indicate the season.
-
Reference: Reference code provided by the supplier or another source.
-
Barcode: Enter the barcode.
-
Short Description: Add a brief product description.
-
Information: Add any necessary details.
-
Tags: Select tags from the dropdown menu. More info here.
PRICE:

-
Price: Enter the retail price, including tax.
-
Open Product: Enable it to be edited in the app.
-
By Weight: Enable it if sold by weight.
-
Cost Price: Enter the cost price (excluding tax). Helps calculate the profit margin.
-
Tax: Select a tax or leave it blank if configured at the group/category level.
-
Pricing Plans: Set up custom pricing. Learn more here.
PROMOTION:
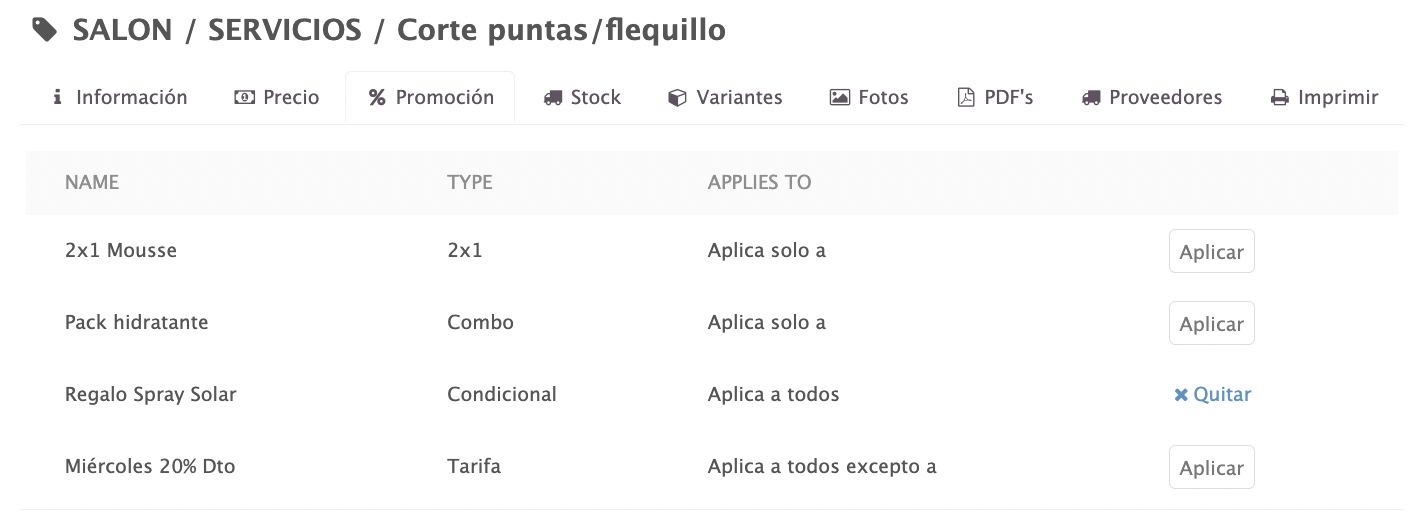
View and apply active promotions. More info here.
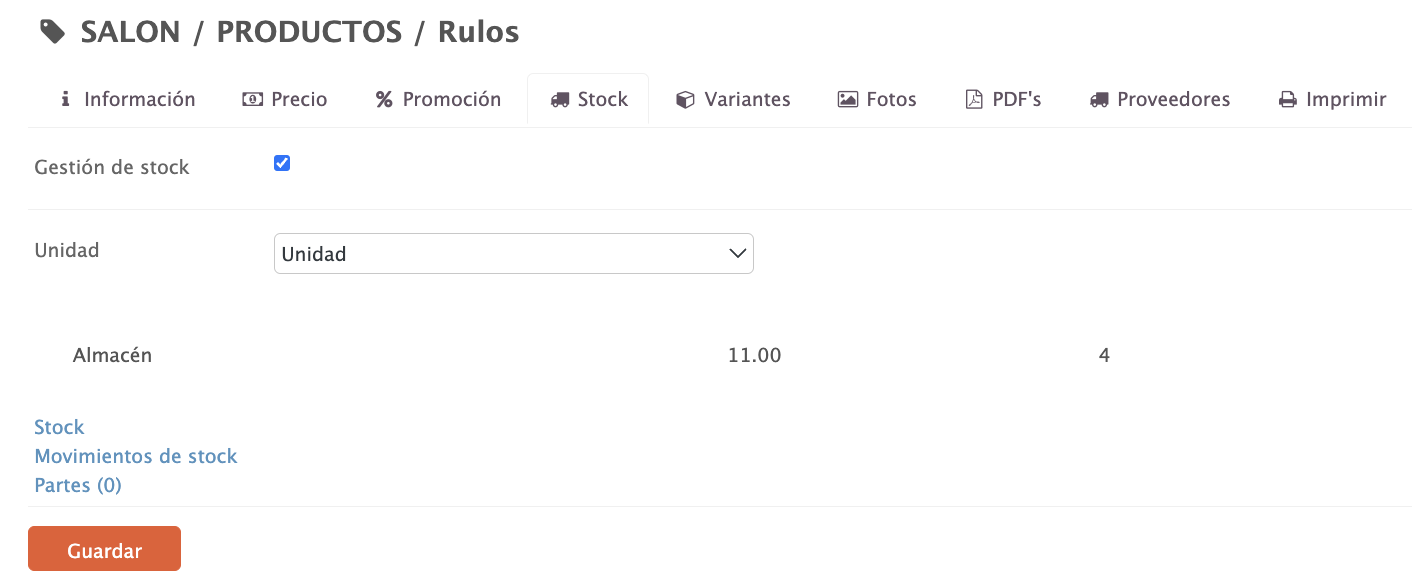
STOCK:
-
Stock Management: Enable it to manage inventory.
-
Unit: Select the management unit for this product.
It is essential that product units match between the product, warehouse, and purchasing module.
-
Warehouse: Check the available quantity and set up alerts. It will turn red if the stock falls below the alert level.
-
Stock: Access the stock management for this product.

- Warehouse: Displays the name of the warehouse where the product is stored.
- Quantity: Available product quantity.
- Unit: Select the unit type.
- Alert: Specify at what quantity you want to receive a stock alert.
- Default Quantity: Modify the default stock quantity for the warehouse.
- Finally, tap Save.
-
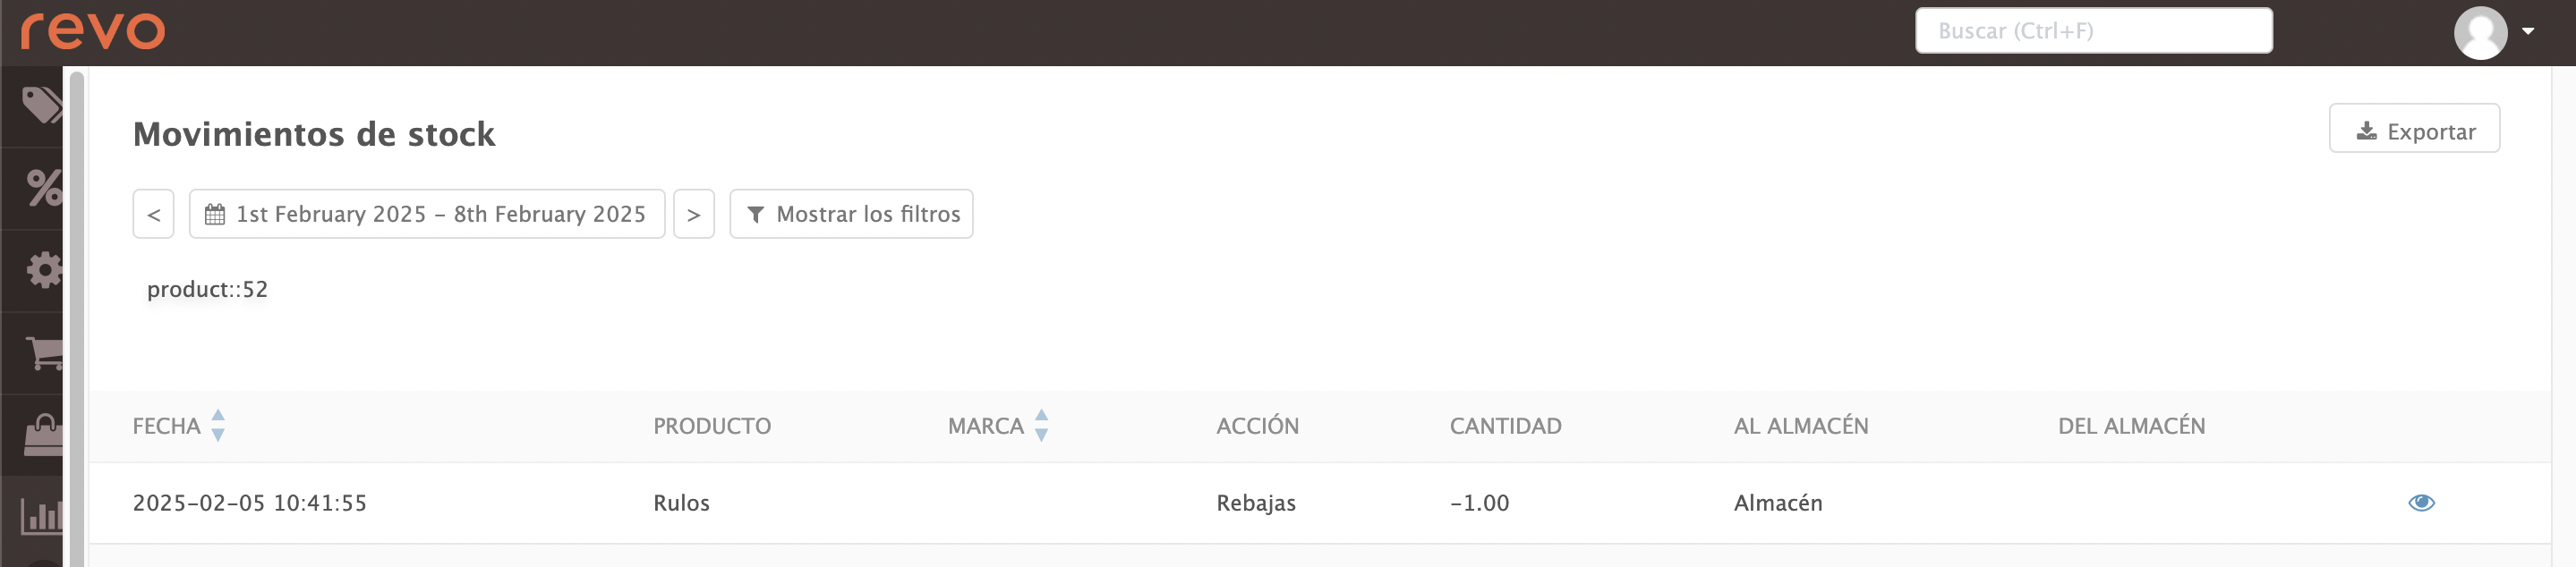
Stock Movements: View stock movement reports.
-
Components: Add the components that make up the product.
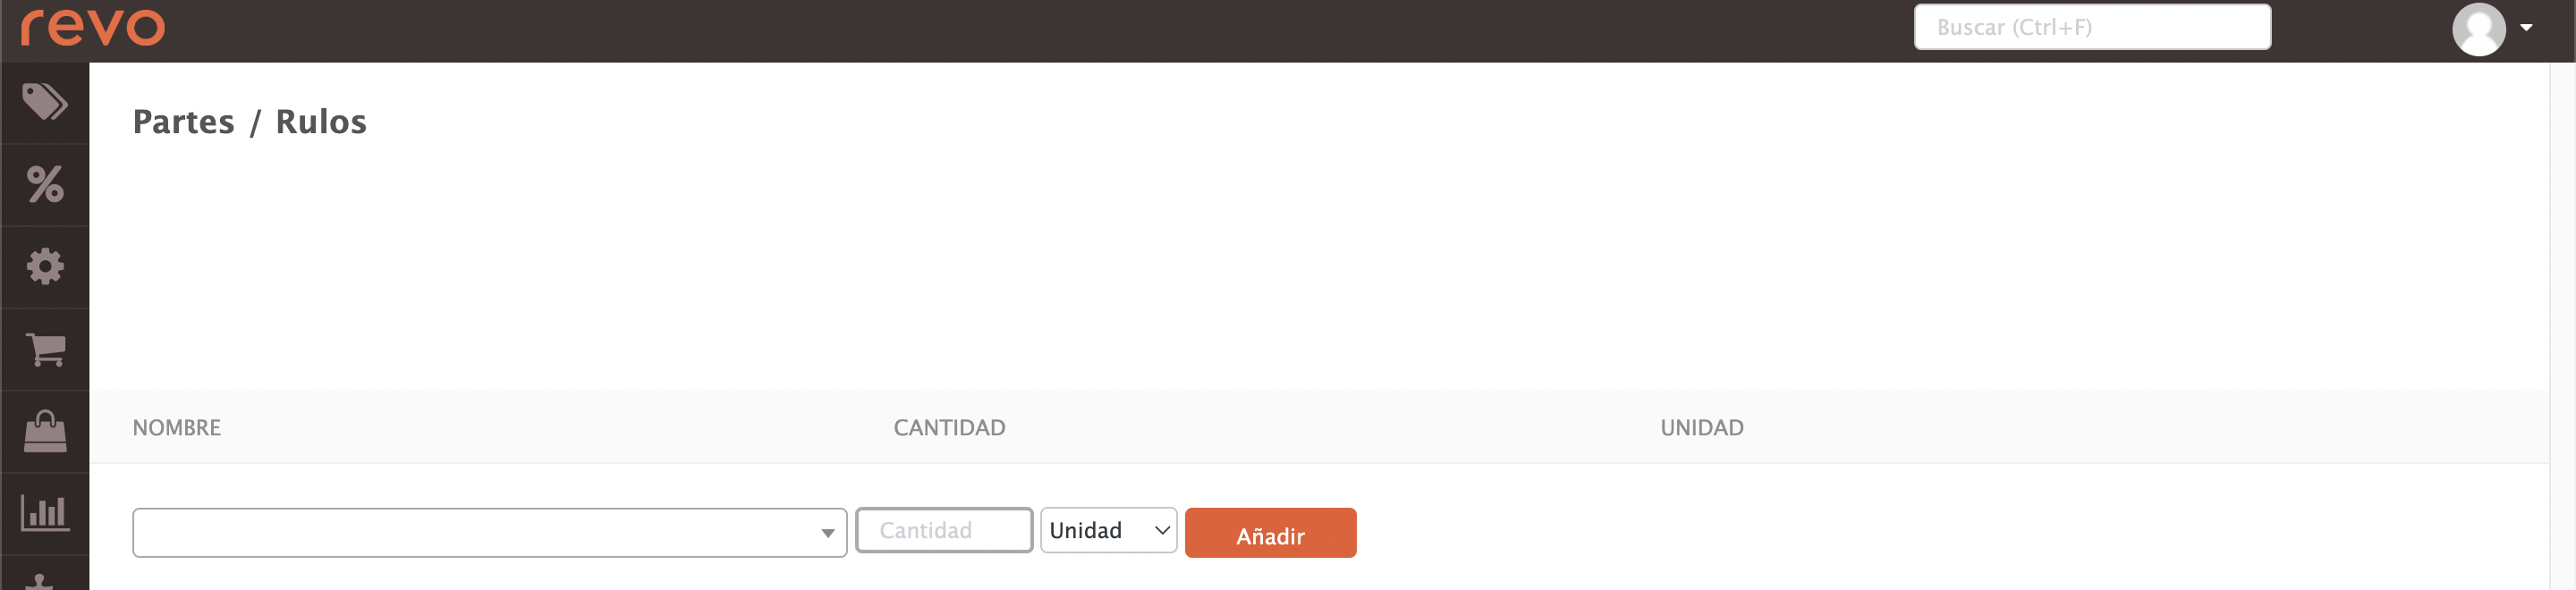
- Name: Search for and select the product.
- Quantity: Enter the available quantity.
- Unit: Select the unit type from the dropdown menu.
- Tap Add.
VARIANTS:
Variants allow you to add sizes, colours, or other options to products. Find more information here.
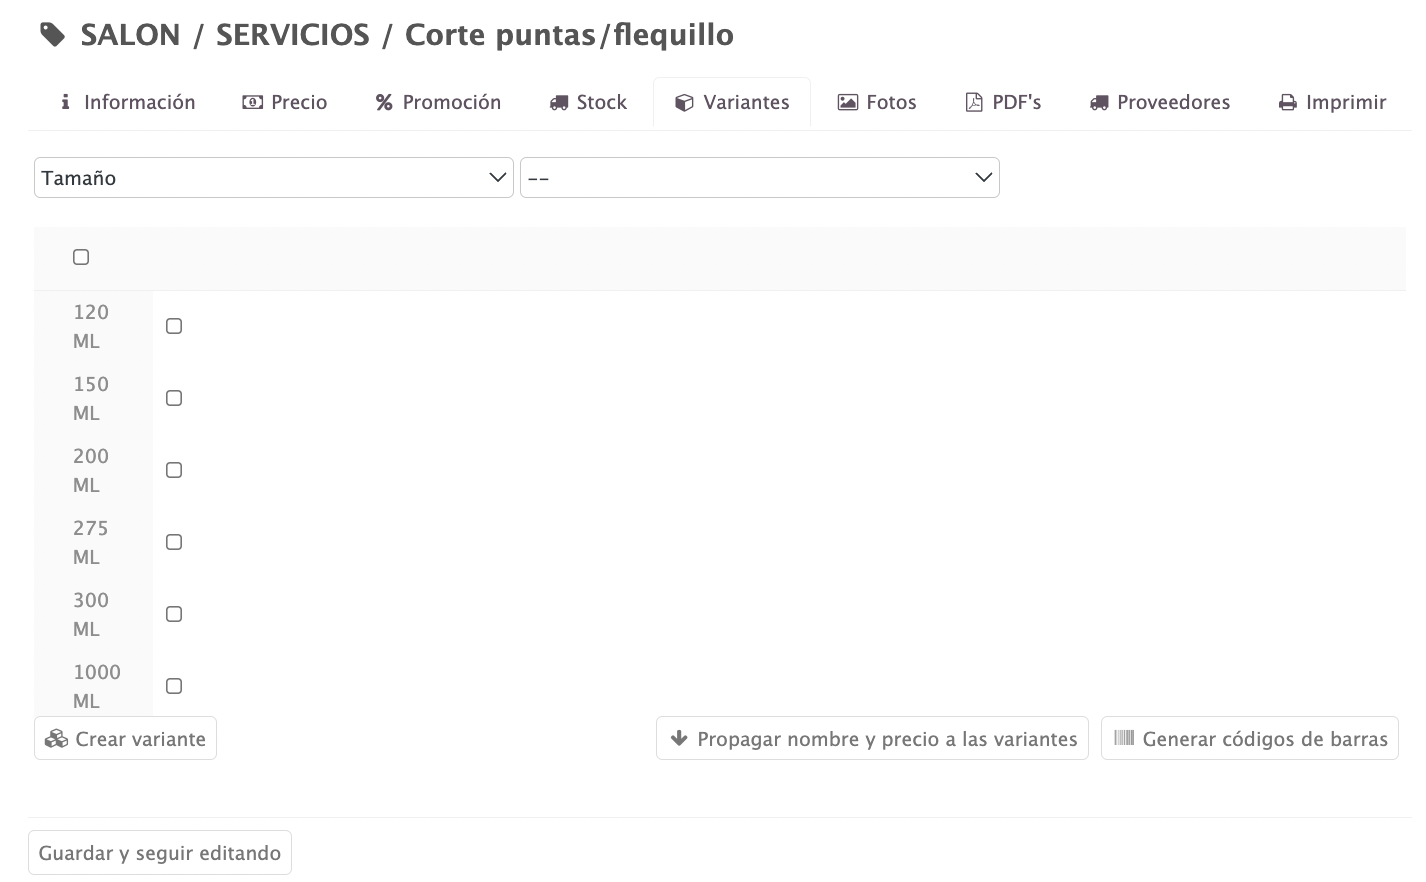
In the dropdown menus, you will see the created variables. To add two variables, select one in each dropdown.
- In the image, the "size" variable is shown with different ML options. After selecting them, press Create variant to save.
- Use Apply name and price to variants to apply the same name and price.
- Use Generate barcode to create a unique code per variant.
PHOTOS:

You can add multiple images to the product.
PDFs:

You can add multiple PDFs to the product.
SUPPLIERS:
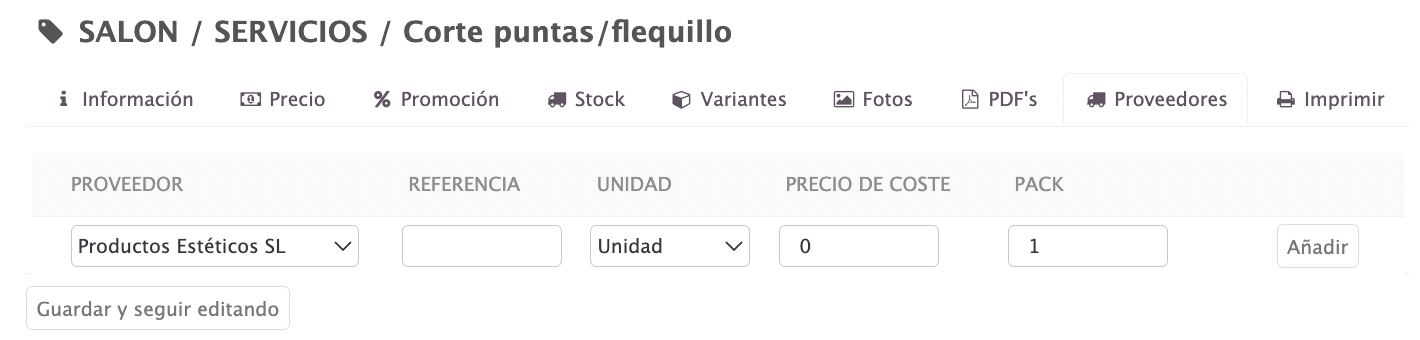
Here, you will see product information by supplier: name, reference, unit type, cost price, and pack size.
PRINT:
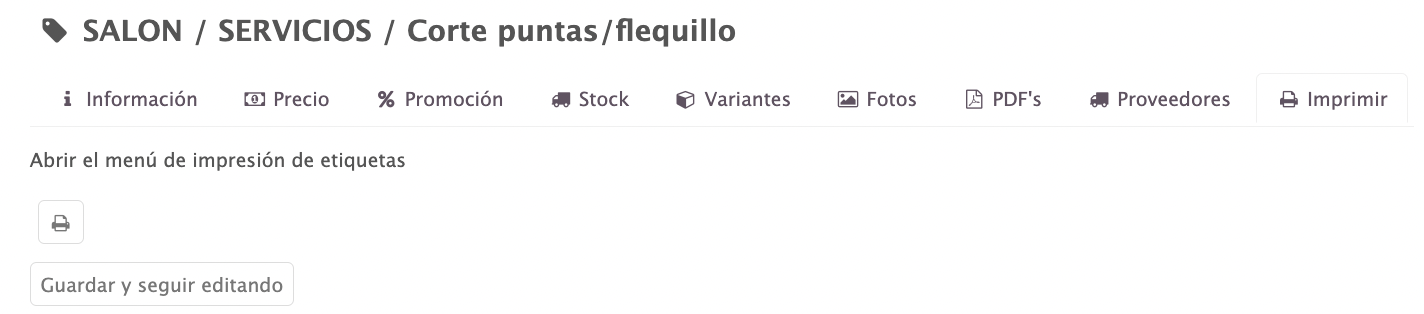
Press the button to print a label with the product information.
2. KIT
Creating a kit is easy. In the top right corner, press +New and select Kit.
Fill in the options as you would for a Product.

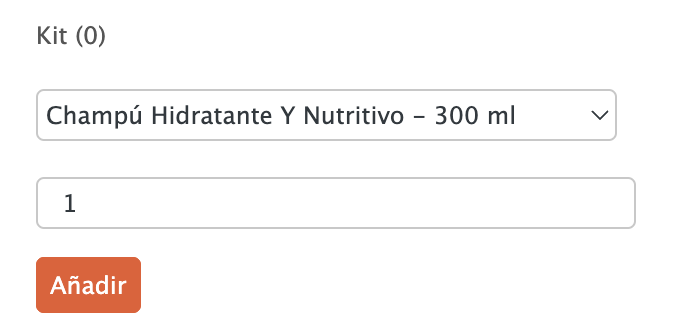
Once saved, the button Products (0) will appear. Press it to add products to the kit.

From the dropdown, select the products and their quantity. Press Add to include more. To remove, use . Click outside the window to exit.
3. CONTAINER
To create a container, press +New and choose Container.
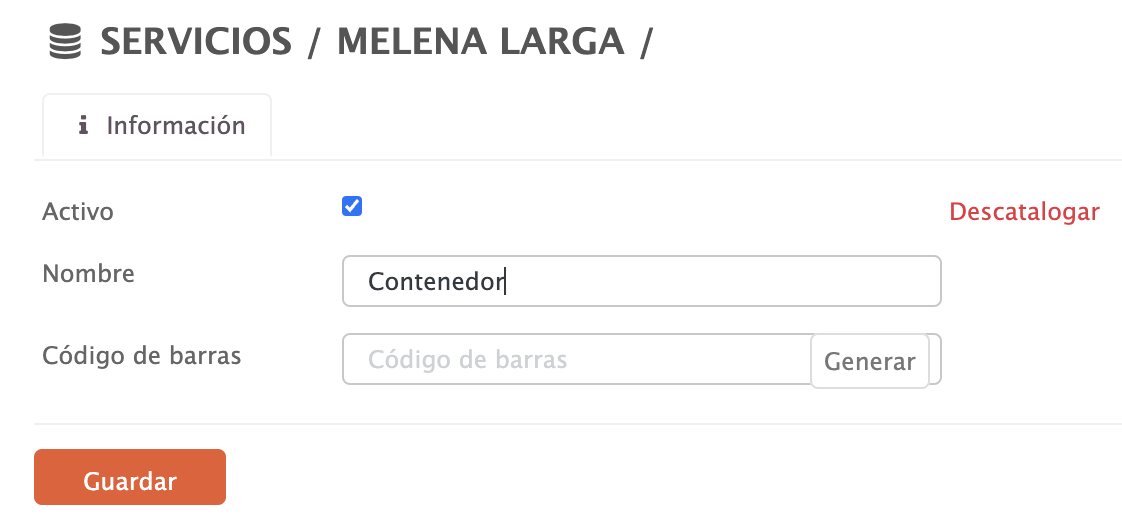
- Active: Tick to make it visible in the app.
- Discontinue: Discontinuing removes the product from the category and the app. More information here.
- Name: This is the product name in the app and on the invoice.
- Barcode: Add a barcode.
- Press Save.
Then, the button Products (0) will appear. Press it to add products to the container.
Select the products. Press Add. To remove, use . Click outside the window to exit.
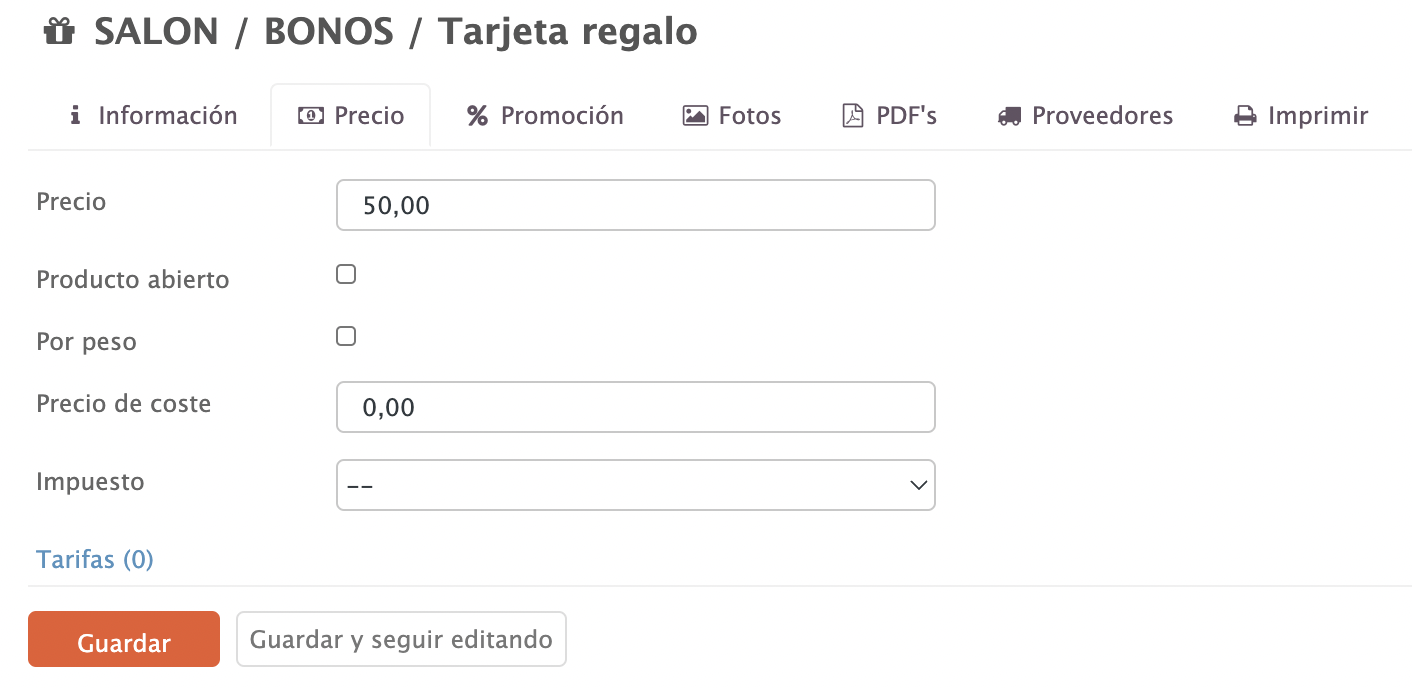
4. GIFT CARDS
To create a gift card, press +New and select Gift Cards.
The options are the same as for a Product.

To create a gift card with an open price, tick the option in the Price tab.
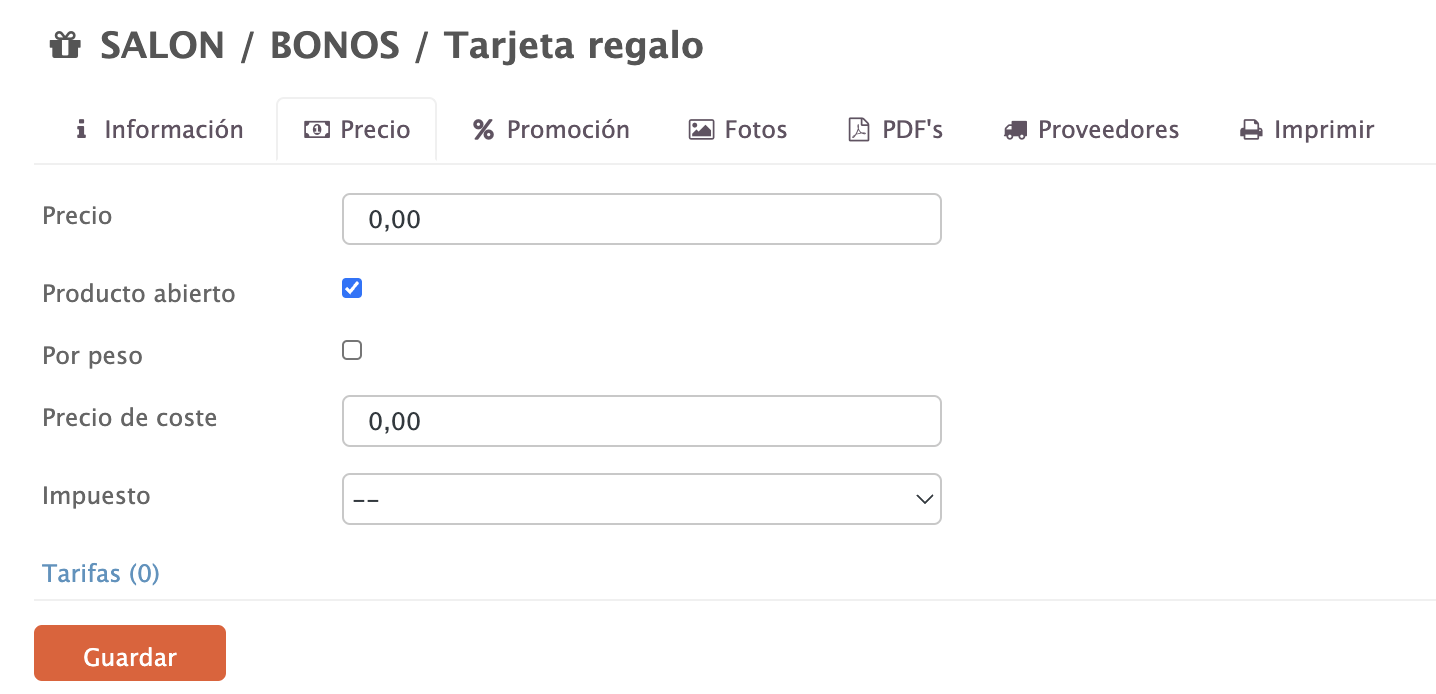
Or use a fixed price.
5. COUPON
To create a coupon, press +New and select Coupon.
The options are the same as for a Product, except for the INFORMATION tab.
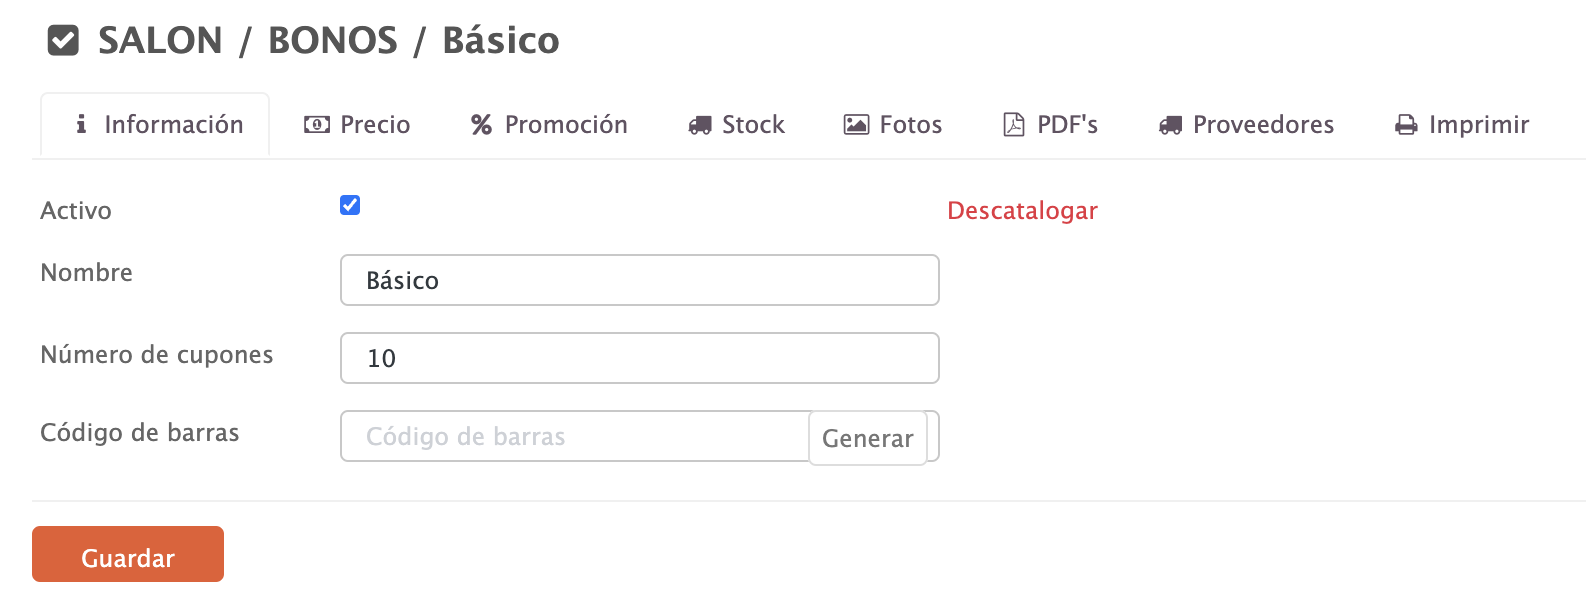
- Active:
- Name: Enter a name.
- Number of coupons: Specify how many coupons will be generated.
- Barcode: You can generate it automatically or add it manually if you prefer.