1. Access the r menu.
2. Tap on Invoices.
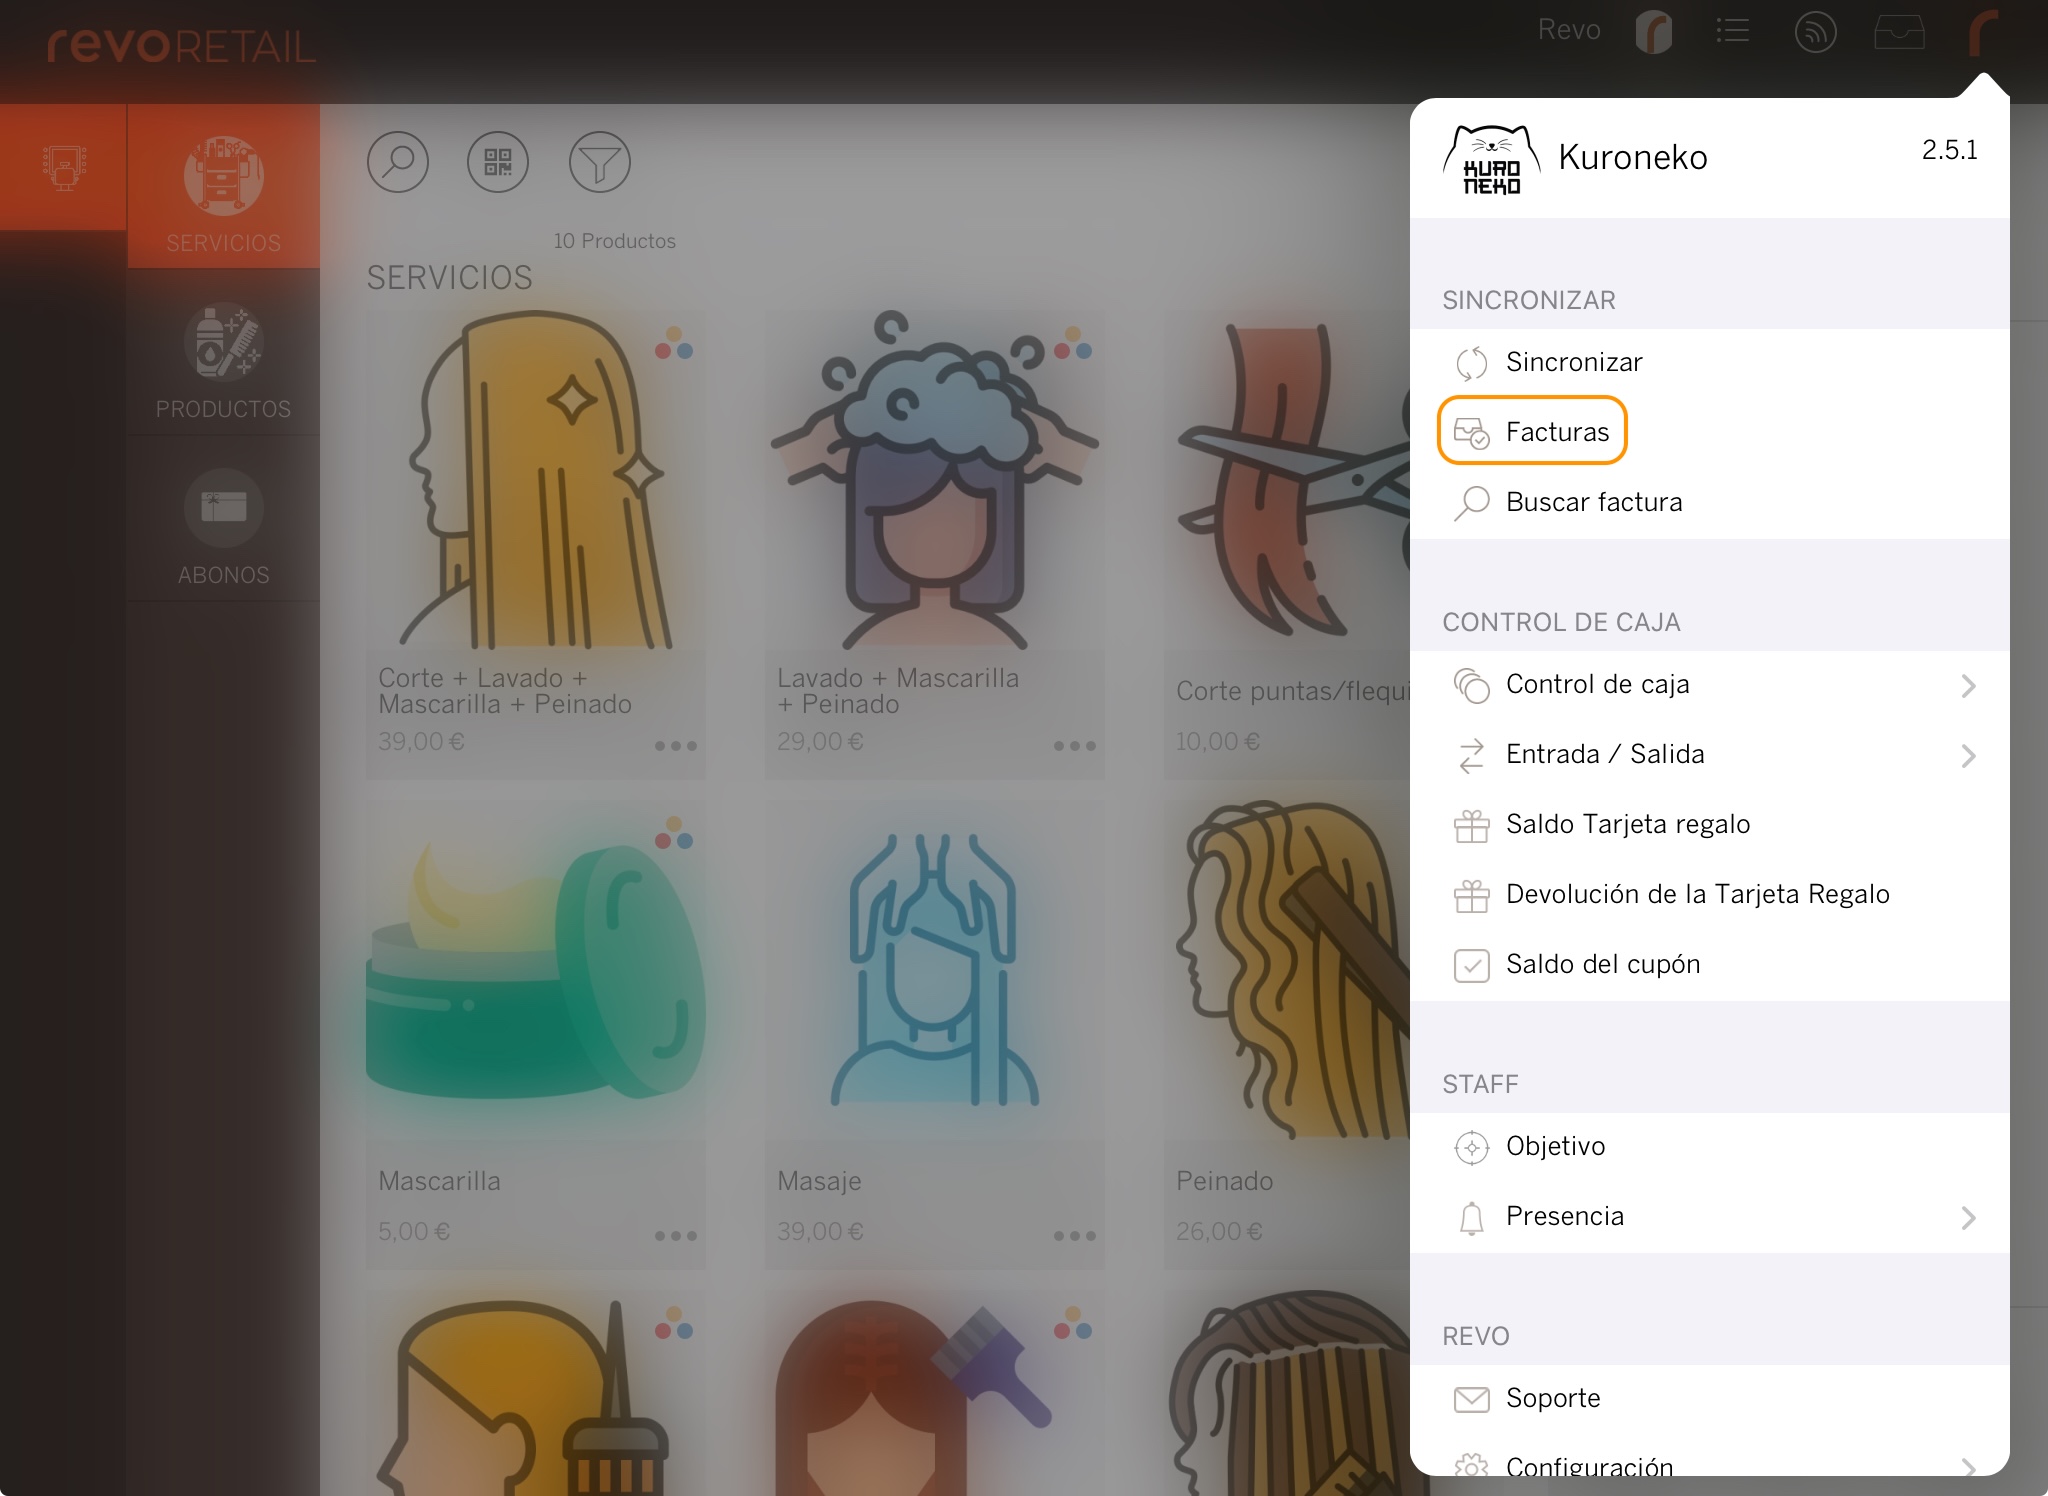
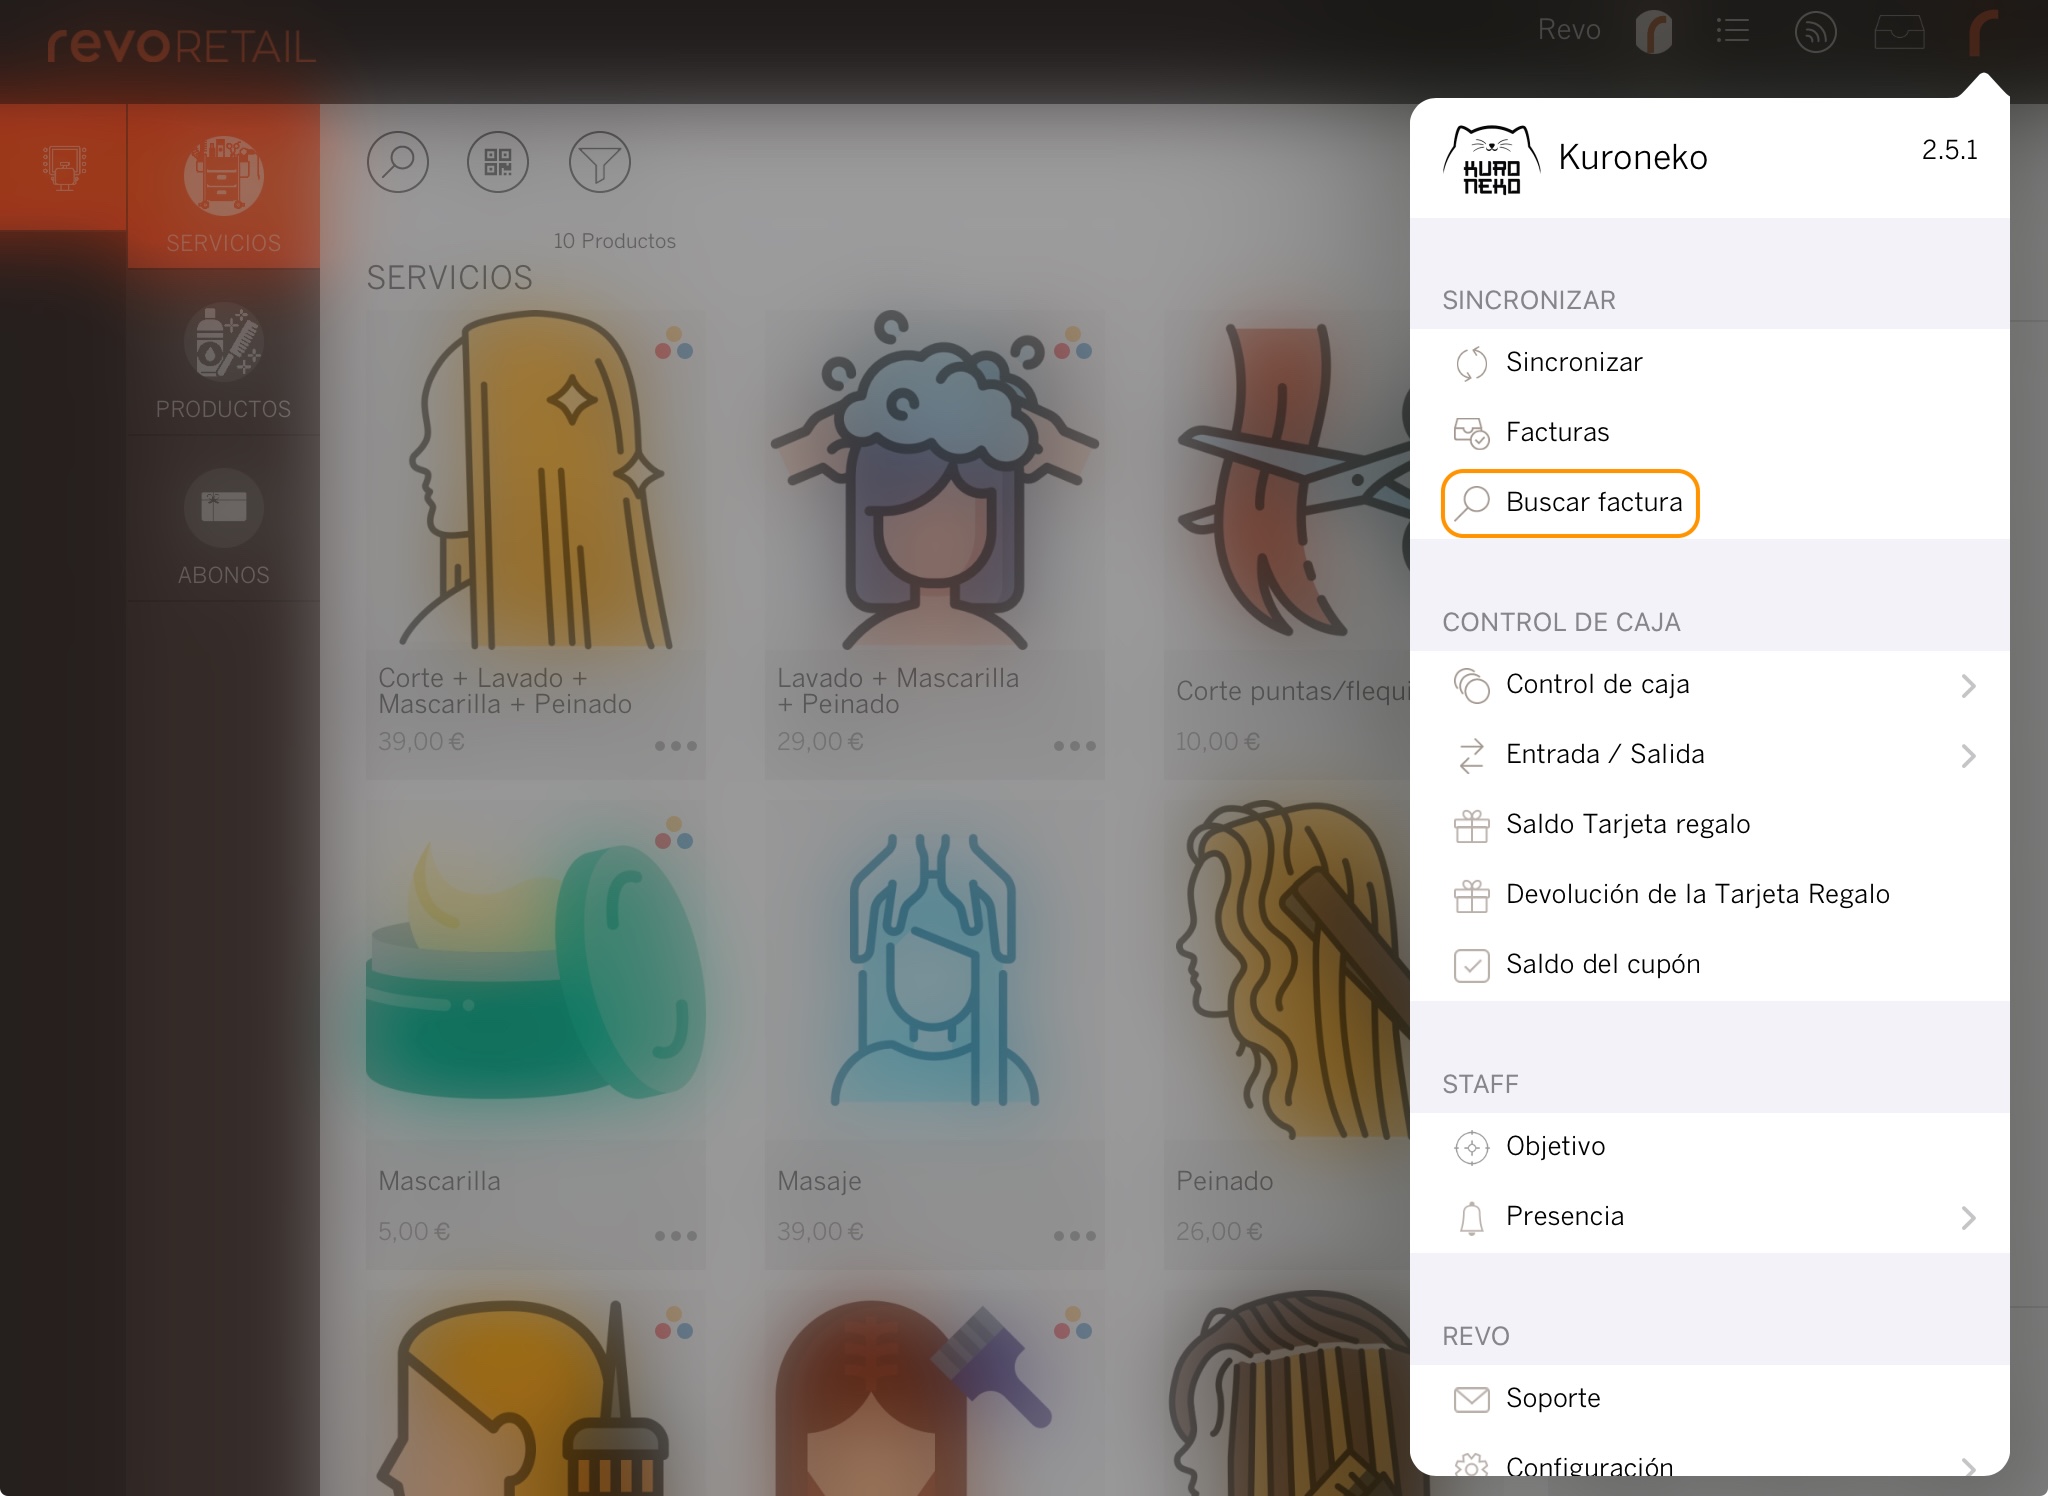
You can also search for a specific invoice via Search Invoice. Enter the number manually or scan the receipt using an external barcode scanner or the iPad’s camera.
On the invoice screen, you can perform several actions once a sale is closed and paid for:
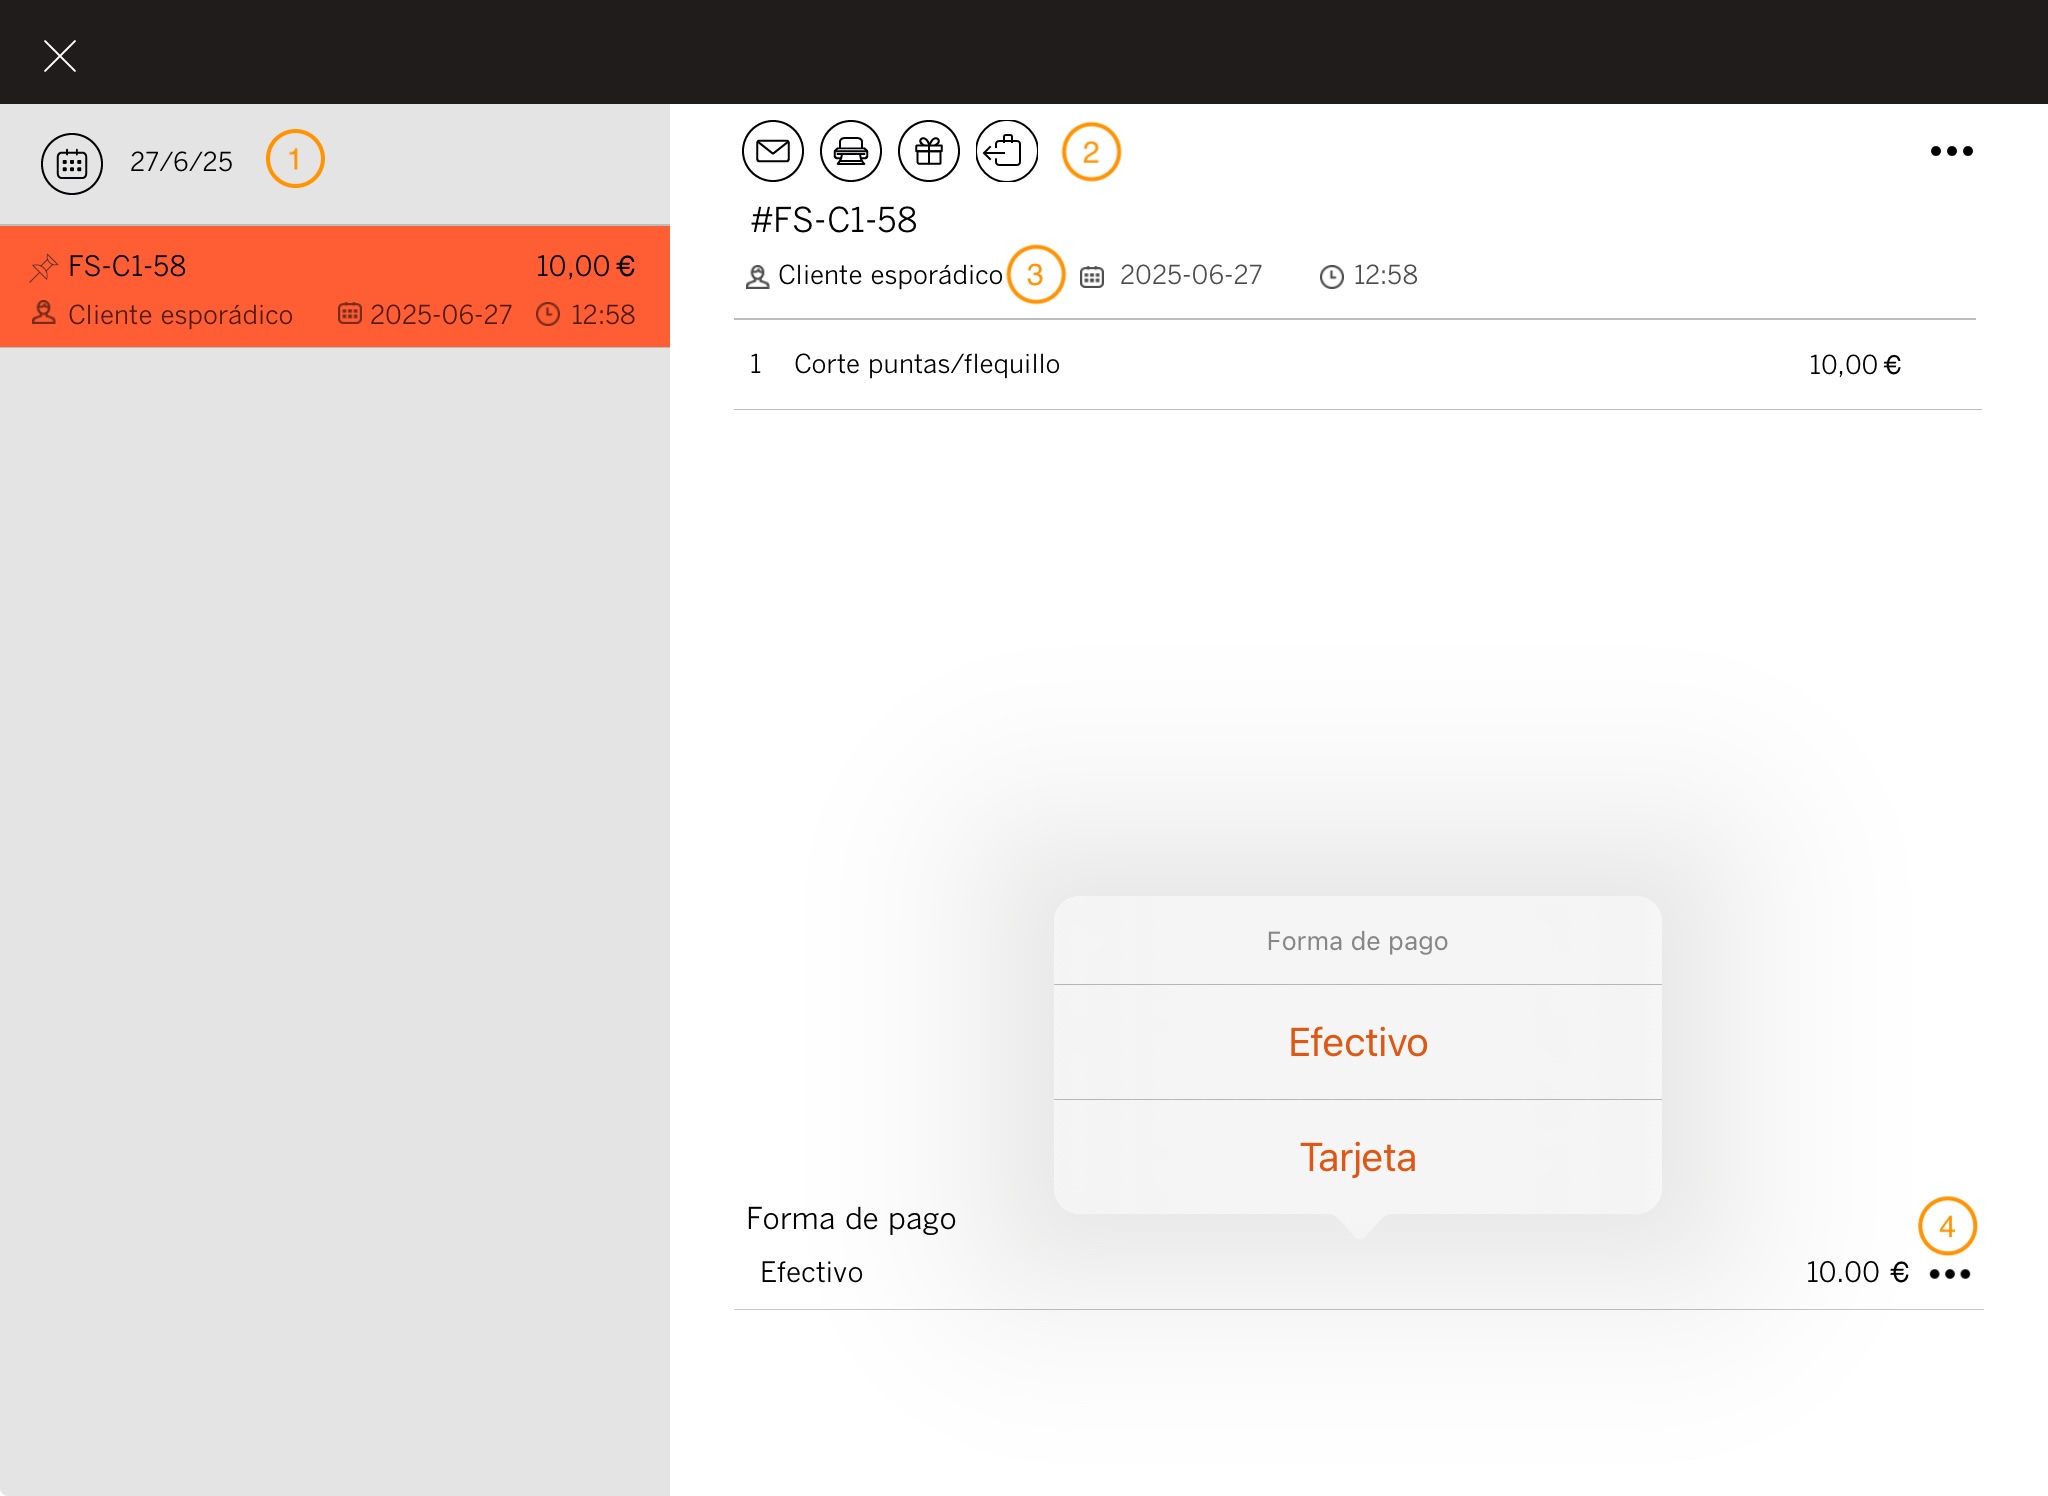
1. On the left, you will see invoices for the current date. Select an invoice to view details such as products, date, time, or payment method. If you need to search for invoices from other dates, tap .
2. Once an invoice is selected, you can:
- Email it. If a customer has an email address saved, it will be sent directly; otherwise, the app will prompt you to add one.
- Print it.
- Print it as a gift receipt.
- Process returns. More information here.
3. Associate the invoice with a customer from Occasional Customer, whether they are new or existing.
4. Change the payment method if it was incorrect. Tap to modify it. More information here.
INVOICES IN THE BACK OFFICE
Invoices generated from the app are available in the back office.
1. Log in to the back office of Revo RETAIL.
2. Navigate to Listings / INVOICES.
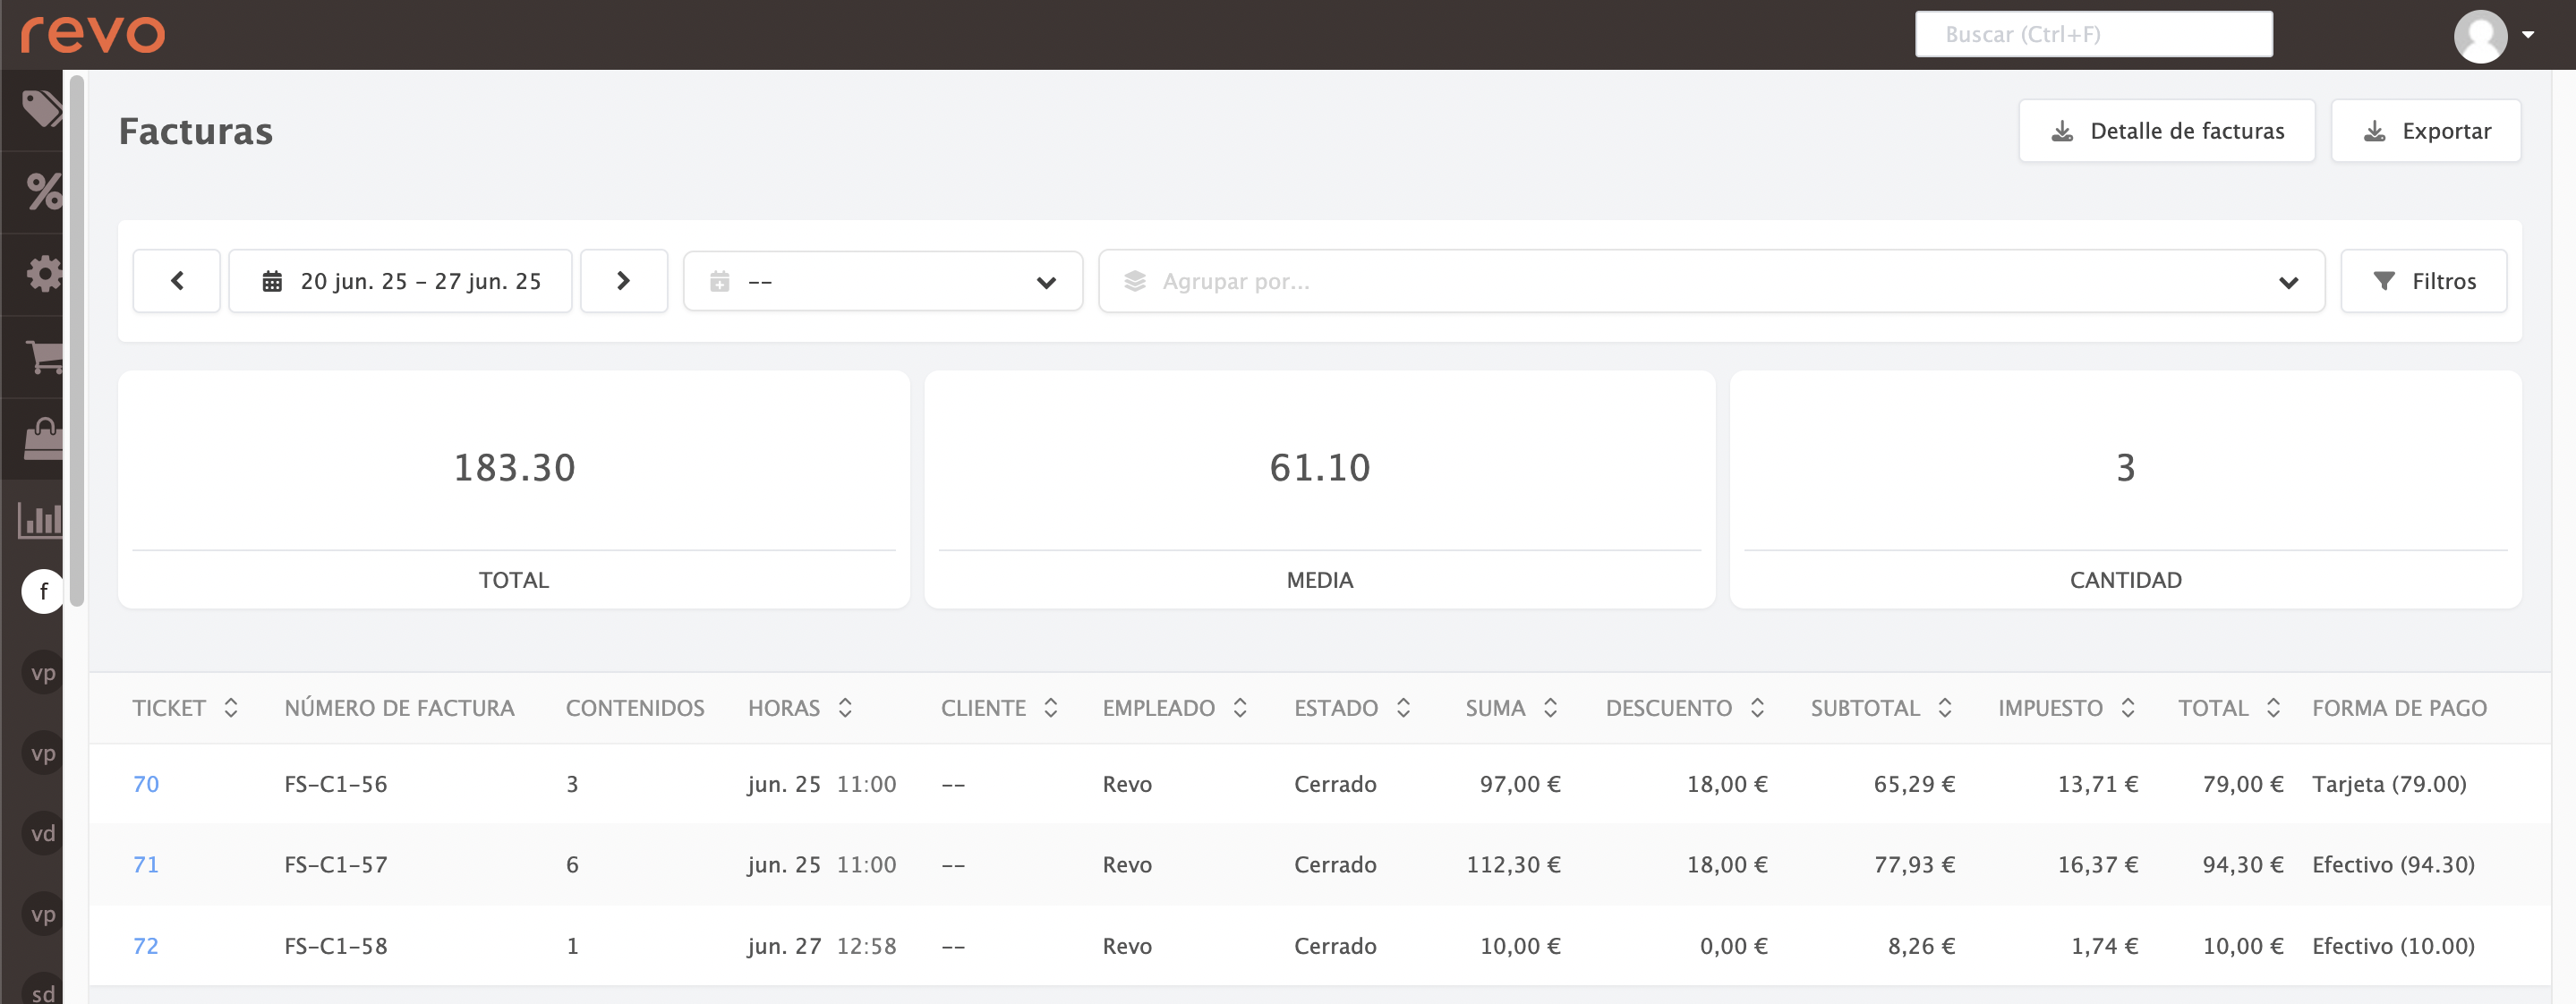
3. Here, you can:
-
Select dates.
-
Group by hours.

-
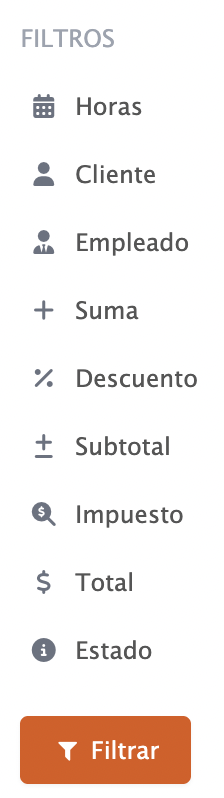
Filters.
-
Ticket: Displays the ticket number.
-
Invoice number: Displays the invoice number.
-
Content: Lists the products sold in the invoice.
-
Hours: Shows the date and time the invoice was generated.
-
Customer: Displays the customer associated with the invoice.
-
Employee: Shows who generated the invoice.
-
Status: Indicates whether the invoice is closed, pending payment, etc.
-
Total with VAT: Shows the total amount including VAT.
-
Discount: Displays the total discounts applied.
-
Subtotal: Shows the amount excluding VAT.
-
VAT: Displays the total VAT amount.
-
Total: Shows the final amount, including VAT and discounts.
-
Payment method: Indicates the payment method used.
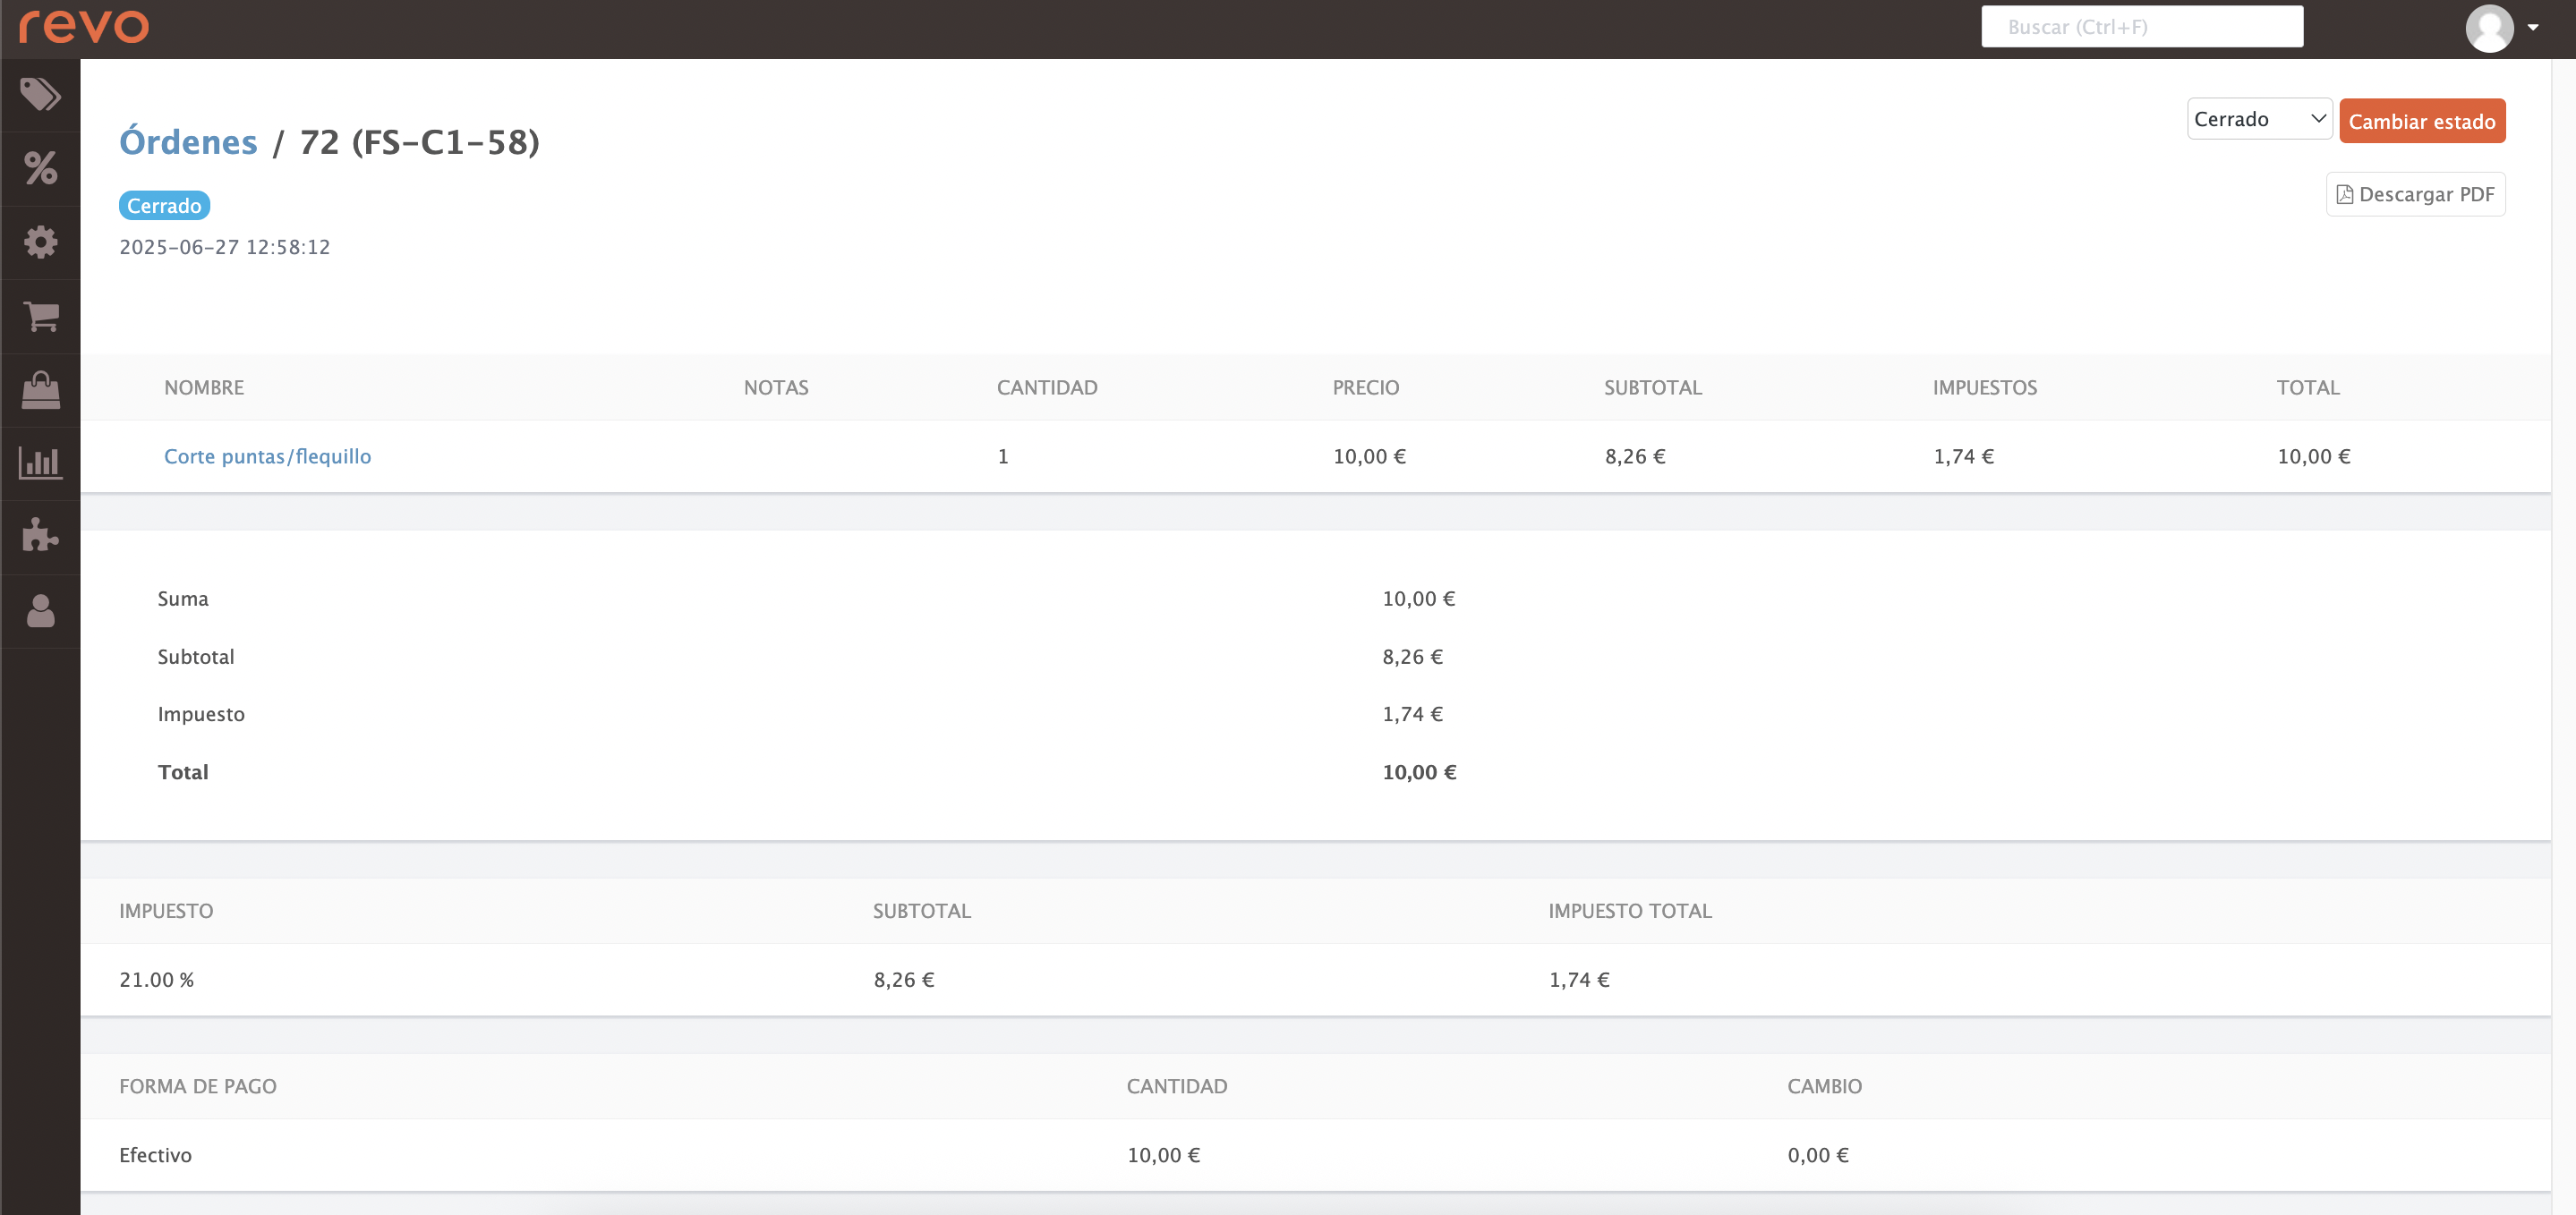
Click on the ticket number to view details, change the status (select a new one from the dropdown and click Change Status) or download the PDF.